

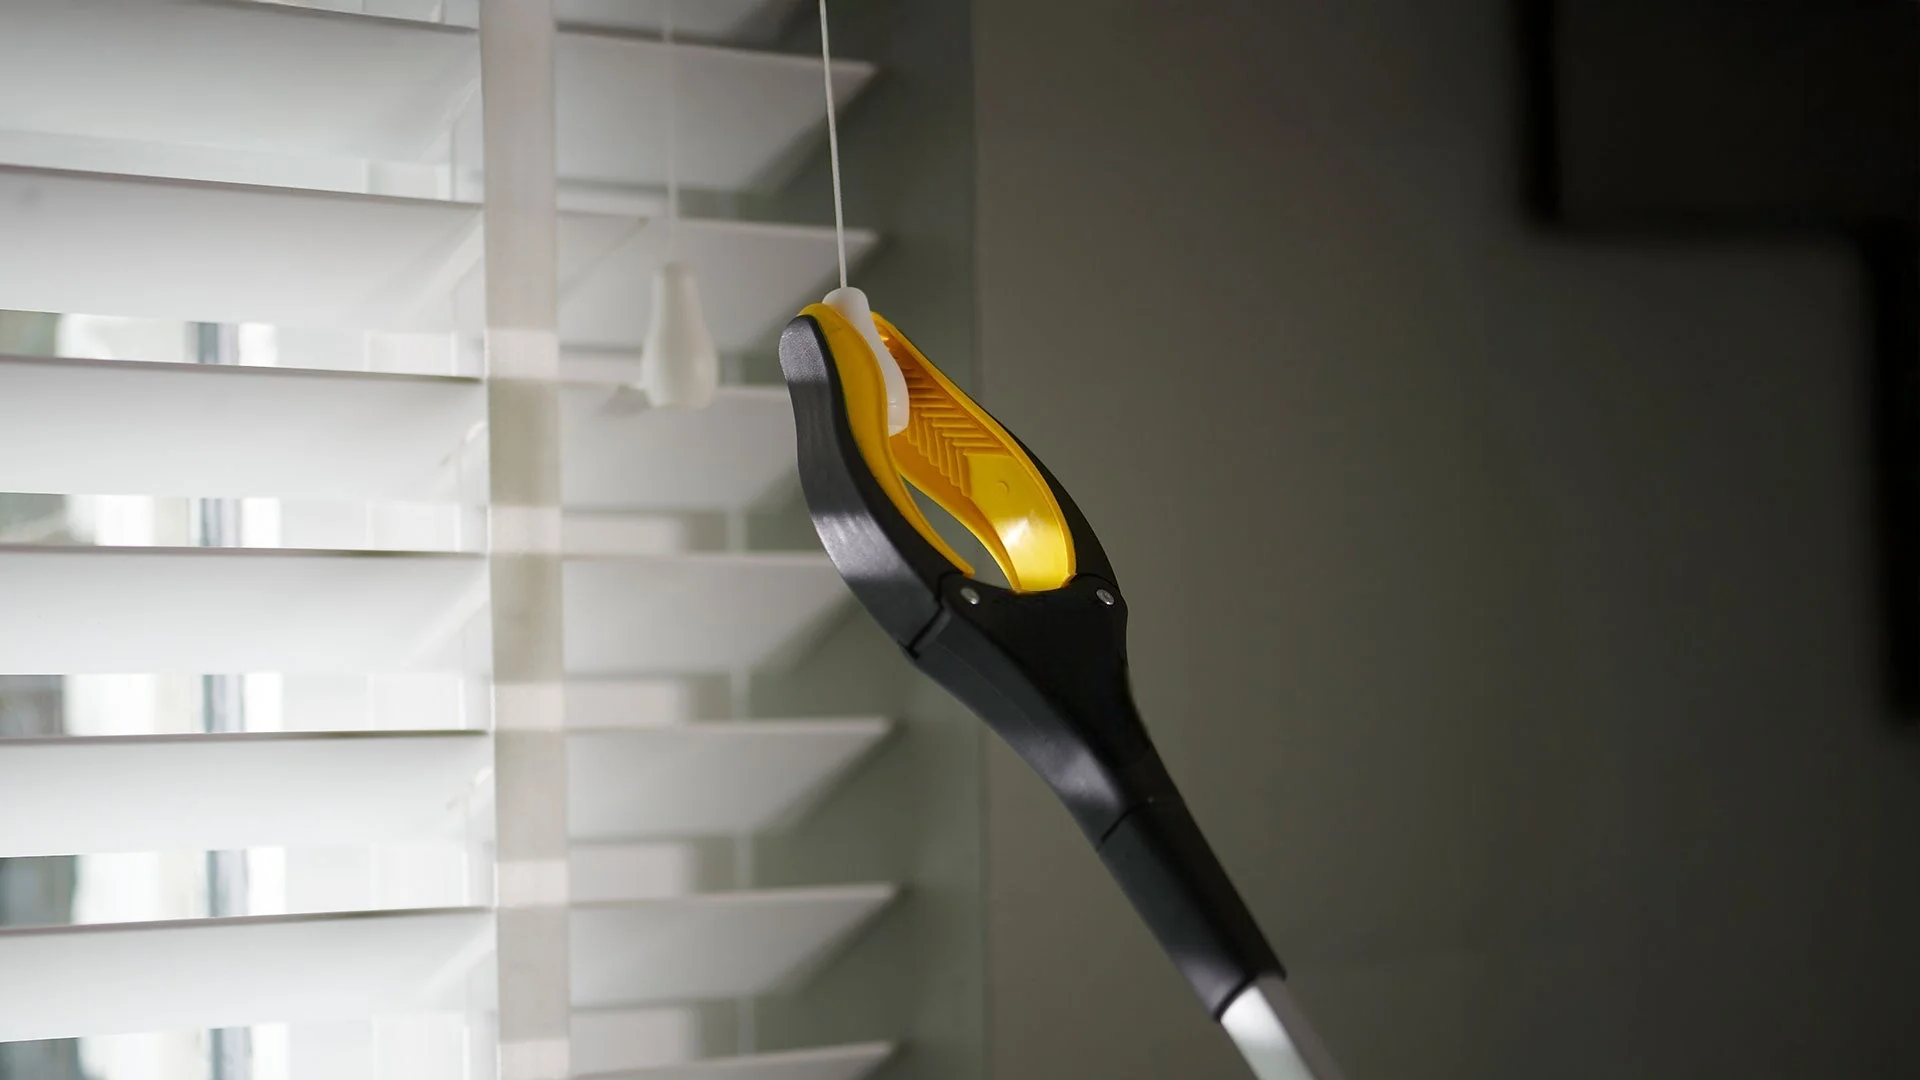
A reacher grabber tool does not work the way most people assume. The instinct is to reach out, open the claw over the object, and squeeze. That technique works on large, stable items. It fails on coins, pills, fabric, anything on a smooth surface, and anything that requires picking up from an angle. The result: dropped objects, frustration, and a tool that gets abandoned in a drawer.
These are the seven technique errors GrabbersTool's occupational therapy advisors see most consistently — and the correct approach for each one.
Mistake 1: Approaching the Object From Above
What people do: Lower the claw straight down onto the object like a crane.
Why it fails: Vertical approach pushes the object away before the jaw closes. Works on soft objects (sock, paper towel). Fails on rigid items (remote, bottle, glasses).
Correct technique: Approach from the side at a 20–30° angle. The claw should contact the far side of the object first, then close around it. This creates a cradle effect rather than a push effect.
Mistake 2: Not Using the Rotation
What people do: Keep the claw in the same orientation as the handle — pointing straight forward.
Why it fails: Forces body rotation or awkward wrist angle to align with the object.
Correct technique: Before reaching, rotate the GrabbersTool claw to match the object's orientation. Picking up a horizontal sock: rotate claw 90°. Picking up something behind furniture: rotate to the working angle first. The 360° rotation on GrabbersTool models exists specifically to eliminate body twisting — use it.
Mistake 3: Squeezing Before Positioning
What people do: Squeeze the trigger while moving the claw toward the object.
Why it fails: Closed jaw cannot wrap around an object — it pushes it. Open jaw allows proper positioning before gripping.
Correct technique: Position first, grip second. Open jaw → place over object → close jaw → lift. This sequence eliminates 80% of dropped objects.
Mistake 4: Lifting Too Fast
What people do: Lift immediately after gripping.
Why it fails: Fast lift creates inertial force that exceeds jaw grip on smooth or heavy objects.
Correct technique: After closing the jaw, pause 1 second before lifting. This allows the silicone pads to settle into grip contact. Then lift slowly and smoothly — no jerking. Objects held at 1kg require half the care of objects held at 200g, because grip friction increases with slow, steady pressure.
Mistake 5: Using It at Full Arm Extension for Precision Tasks
What people do: Extend the arm fully when picking up small objects like pills or coins.
Why it fails: Full arm extension introduces micro-tremor that makes precision contact impossible. The effective jaw accuracy at full extension on a 32" tool is approximately ±1.5cm.
Correct technique: For small objects, reduce extension. If the object is on the floor and you are seated, move the chair closer rather than extending further. The Precision Grabber Tool 33" is specifically engineered for small-object retrieval with a narrower jaw profile.
Mistake 6: Wrong Tool for Fabric
What people do: Try to pick up socks, underwear, or clothing from the floor the same way as rigid objects.
Why it fails: Fabric folds away from rigid jaw contact and slips through.
Correct technique: For fabric, insert the jaw tip into the fabric first — push slightly down — then close. The jaw captures the fabric from inside rather than gripping the outside. Alternatively: use the jaw to drag fabric toward you, then lift once the fabric is bunched.

Mistake 7: Trying to Pick Up Objects Directly Against a Wall or Baseboard
What people do: Try to grab something in the corner between floor and wall.
Why it fails: No room for the jaw to open flat against the surface.
Correct technique: Rotate the claw 45°, slide the jaw edge under the object, and use a scooping motion rather than a gripping motion. This is where the magnetic tip on GrabbersTool models is invaluable — coins, keys, and metal items in corners are retrieved without jaw contact at all.
Quick Reference: Object-to-Technique Matrix
| Object Type | Approach Angle | Claw Rotation | Special Technique |
|---|---|---|---|
| Remote control, phone | Side, 30° | Match object flat face | Standard grip |
| Coin, pill, small item | Flat, 10° | Flat/horizontal | Magnetic tip or slide-under |
| Sock, underwear, fabric | Downward, 45° | Any | Insert jaw into fabric, then close |
| Glass jar, bottle | Side, 20° | Perpendicular to jar axis | Pause before lifting |
| Item against wall | Angled, 45° | 45° rotated | Scoop motion, or magnetic tip |
| Shoe under bed | Horizontal, low | Match shoe length | Hook by toe box, drag out |
| Paper, mail | Flat, 10° | Horizontal | Light grip — do not crush |
For post-surgery patients with hip precautions, the specific dressing techniques — including the sock-pickup sequence and the pants-leg method — are detailed on the GrabbersTool 32" product page, including a step-by-step illustrated guide.
One Rule That Covers All Seven Mistakes
Position, then grip, then lift slowly. Every failed grab is a violation of that sequence. The GrabbersTool Reacher Grabber collection provides the mechanical precision to execute that sequence correctly — but the sequence itself is the skill.


