

Transferring wet laundry from a front-load washer to a dryer is one of the most physically demanding routine tasks in the home — and one of the most frequently cited reasons GrabbersTool customers first contact us. The combination of bending at 90°+, reaching into a drum, and lifting wet fabric weight makes it a reliable pain trigger for anyone with back problems, hip precautions, or limited bending range.
Direct answer: A GrabbersTool 43" Reacher handles front-load washer transfer without bending. The 32" model works for top-load washers from a standing position. Neither requires body contact with the machine drum. Here is the exact technique for each setup.
Why Laundry Transfer Is Harder Than It Looks
Wet laundry weighs two to three times more than dry laundry. A standard wash load of 4–5kg dry clothing becomes 8–12kg wet. Standard reacher grabbers are not designed to lift this weight as a bulk load — and they should not be used that way. The technique below works with the weight, not against it, by using the grabber to drag and guide rather than lift entire loads.
Front-Load Washer: Step-by-Step
Front-loaders require the most bending in standard operation. The drum opening sits at approximately 20–30 inches from the floor — directly in the bend zone for most adults.
- Open the washer door and position yourself standing directly in front, not to the side
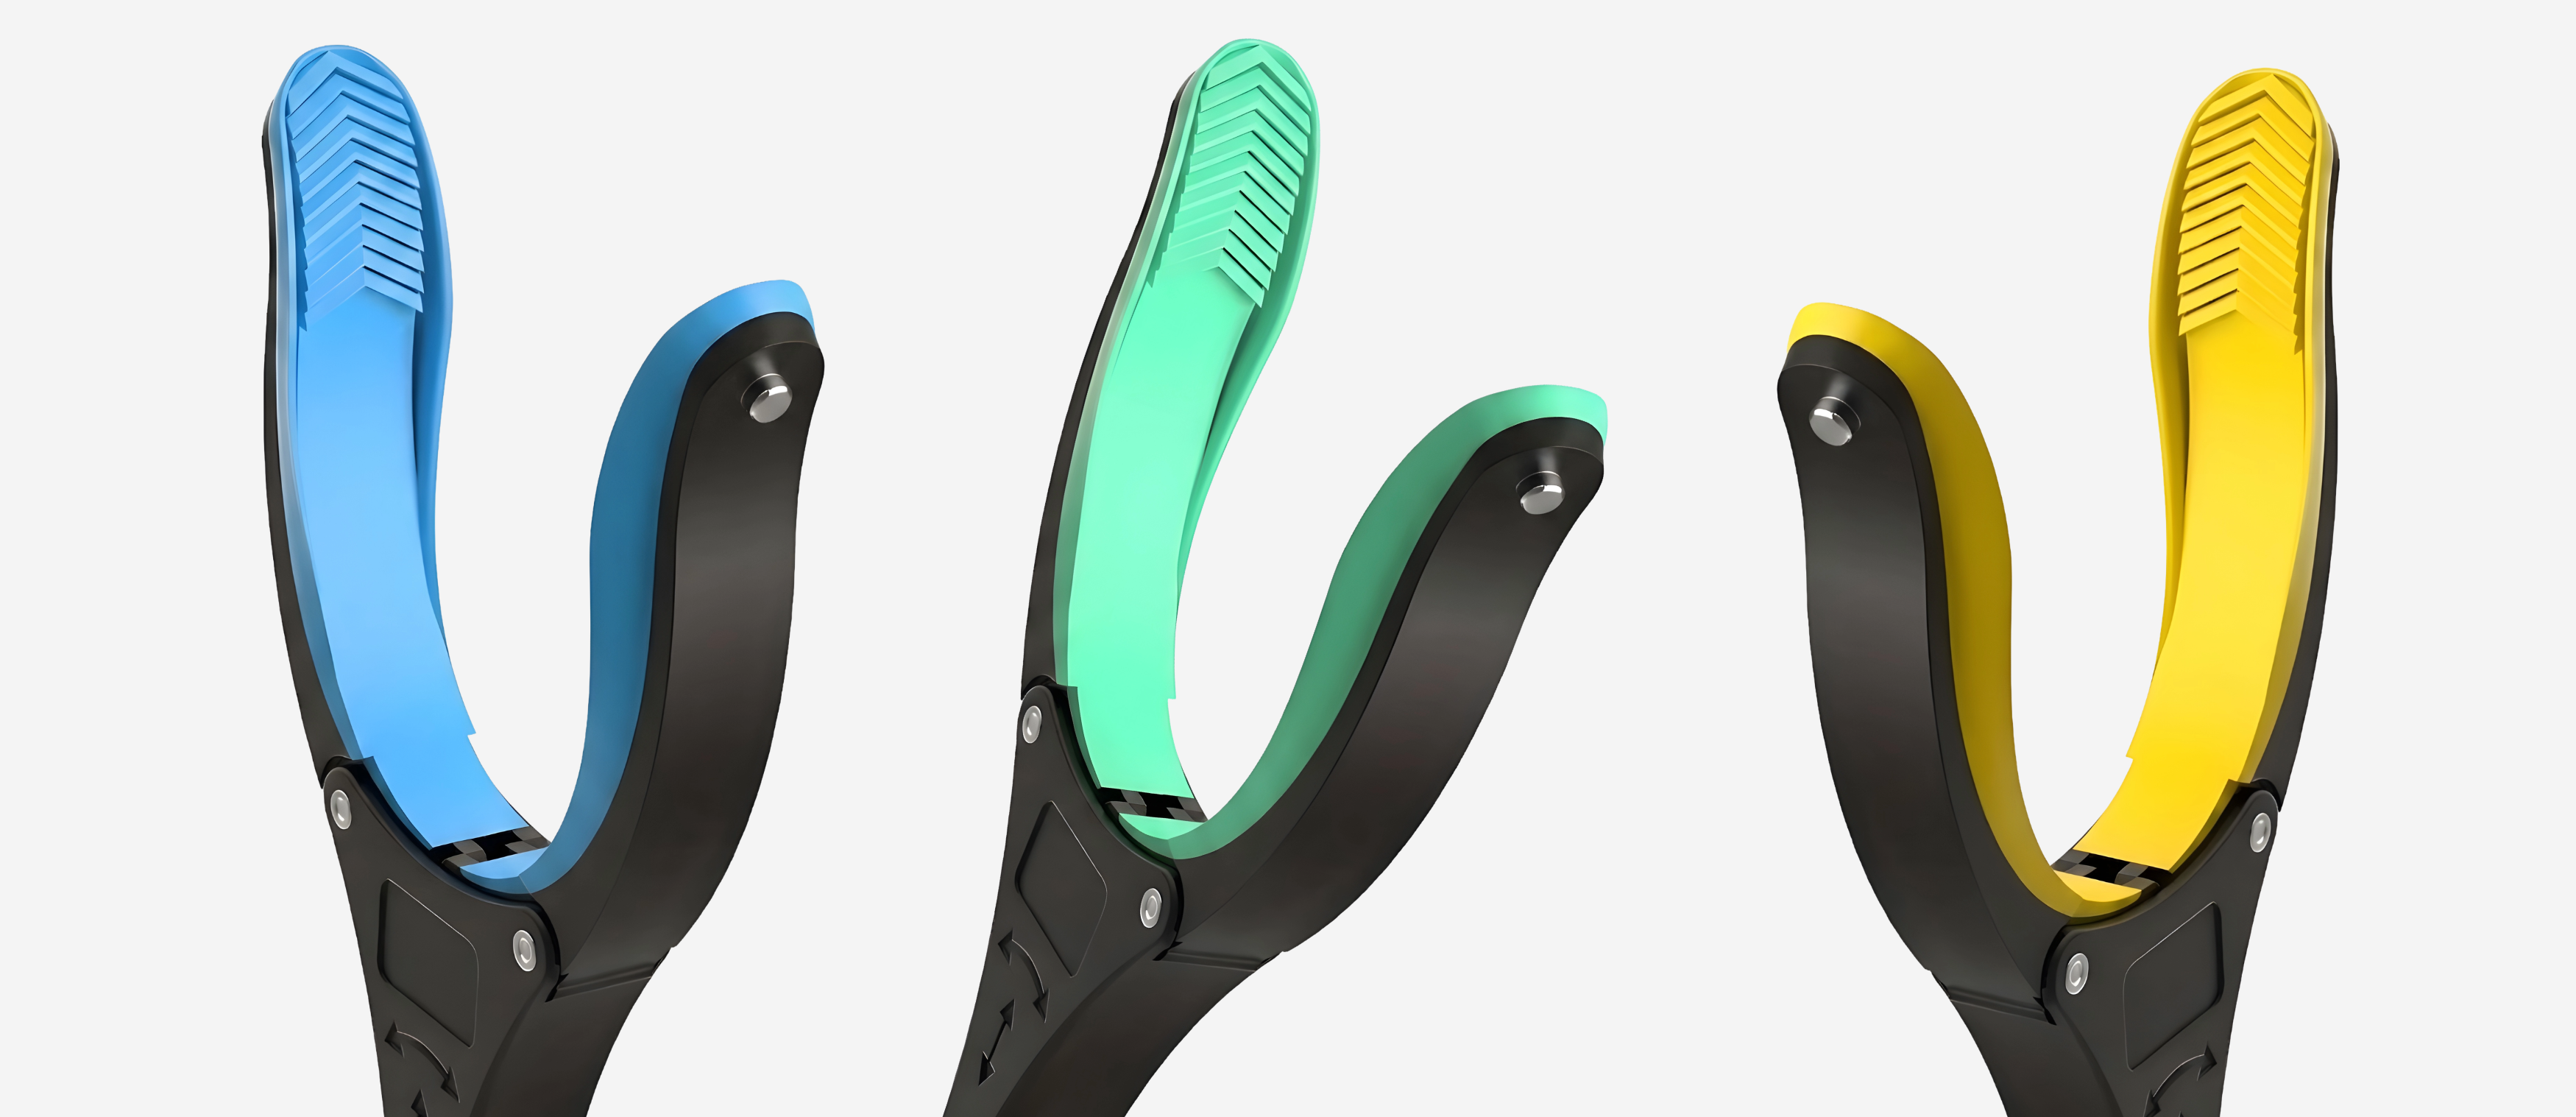
- Use the GrabbersTool 43" claw — the additional length reaches the back of the drum without requiring a forward lean
- Rotate the claw to horizontal before inserting into the drum
- Hook individual items by their heaviest point — waistband of trousers, shoulder seam of shirts, cuff end of a towel
- Drag the item to the drum opening — do not attempt to lift the full item through the air inside the drum
- Once the item is at the opening, gravity does the rest — let it fall into a basket placed directly below the drum door
- Transfer from the basket to the dryer drum using the same hook-and-drag technique
Key principle: Use the grabber to move items to the edge, then let gravity and the basket do the work. Attempting to carry wet clothing through the air with a grabber claw will result in dropped items and frustration.
Top-Load Washer: Step-by-Step
Top-loaders require reaching down into a drum from above — a different mechanical challenge. The drum depth typically requires 18–24 inches of reach below the machine rim.
- Stand directly beside the washer, not in front — this reduces the required arm angle
- Use the GrabbersTool 32" — adequate for most top-load drum depths
- Rotate the claw downward (180° from standard orientation)
- Lower the claw into the drum and hook items from their edge — agitator-side items first
- Drag items up the drum wall and over the rim — do not lift through the center
- Let items fall into a basket positioned at hip height beside the machine
Machine Type vs Recommended Grabber
| Machine Type | Recommended Model | Claw Orientation | Technique |
|---|---|---|---|
| Front-load washer | 43" Reacher | Horizontal, rotated to match item | Hook at opening, drag to basket |
| Top-load washer | 32" Reacher | Inverted (180°) | Hook at drum wall, drag over rim |
| Stacked washer-dryer | 43" Reacher | Horizontal at drum level | Same as front-load — basket is essential |
| Dryer (any type) | Either model | Match drum opening angle | Load from basket using hook-and-place motion |
The Basket Is Not Optional
Every laundry technique that uses a grabber tool depends on a basket or hamper as an intermediate landing point. Without the basket, items fall to the floor — creating the exact retrieval problem the grabber was meant to prevent. Place a laundry basket at hip height (on a chair, step, or dedicated stand) beside the machine before starting any transfer.
For users in post-hip-replacement recovery, laundry transfer is typically restricted during the first 4 weeks due to hip precautions. The basket-plus-grabber system described here is the standard occupational therapist recommendation for week 3–4 when limited activity resumes. Full guidance on what is and is not safe during each recovery week is available in our Hip Replacement Recovery Guide.
Items That Do Not Work With a Grabber
- Full wet towels (single item): Too heavy for the jaw at full extension. Fold over the drum edge and carry by hand to basket, or use a laundry hook tool.
- Tangled clothing: Untangle first using the claw tip, then transfer individually.
- Bedding (sheets, duvet covers): Use the grabber to drag bulk fabric to the machine opening. Hand-carry from there — no single-tool technique manages full bedding weight reliably.
The GrabbersTool 43" includes a free fabric storage bag and ships within 1–2 business days. Browse the full Reacher Grabber Tools collection for all available lengths and colors.


