

Adaptive kitchen organization is the discipline of arranging a kitchen to minimize the physical demands of cooking while maintaining full function. Occupational therapists apply consistent organizational principles across diverse patient populations -- the principles that reduce the physical cost of cooking for a hip replacement patient are the same ones that work for an arthritis patient, a stroke survivor, or a person managing ME/CFS fatigue. Understanding the principles allows any person with a mobility or strength limitation to evaluate their own kitchen and make targeted improvements without needing a formal home visit.
The 7 Adaptive Kitchen Organization Principles
1. Everything Frequently Used Belongs at Counter Height
Counter height (28 to 36 inches for most kitchens) is the accessible zone -- reachable from a standing or seated position without bending or overhead stretch. Items used daily belong on the counter or in drawers at this height. Items used weekly belong in mid-level cabinets. Items used rarely belong high or low. Reorganize to this distribution -- most kitchens do not follow it.
2. Electric Appliances Replace Manual Force Tasks
Every kitchen task that requires grip strength, torque generation, or sustained effort should have an electric alternative permanently stationed on the counter. The Electric Jar Opener on the counter (not in a drawer) opens every jar without manual effort. An electric can opener, electric hand mixer, and electric kettle similarly replace force-intensive tasks. The accessible kitchen keeps these appliances out and ready.
3. Non-Slip Surfaces at Every Work Station
A Dycem or silicone non-slip mat under every mixing bowl, cutting board, and frequently used container eliminates the grip stabilization that would otherwise require two functional hands. One non-slip mat costs less than five and can be cut to any size.
4. A Reacher at Every Reach Deficit Point
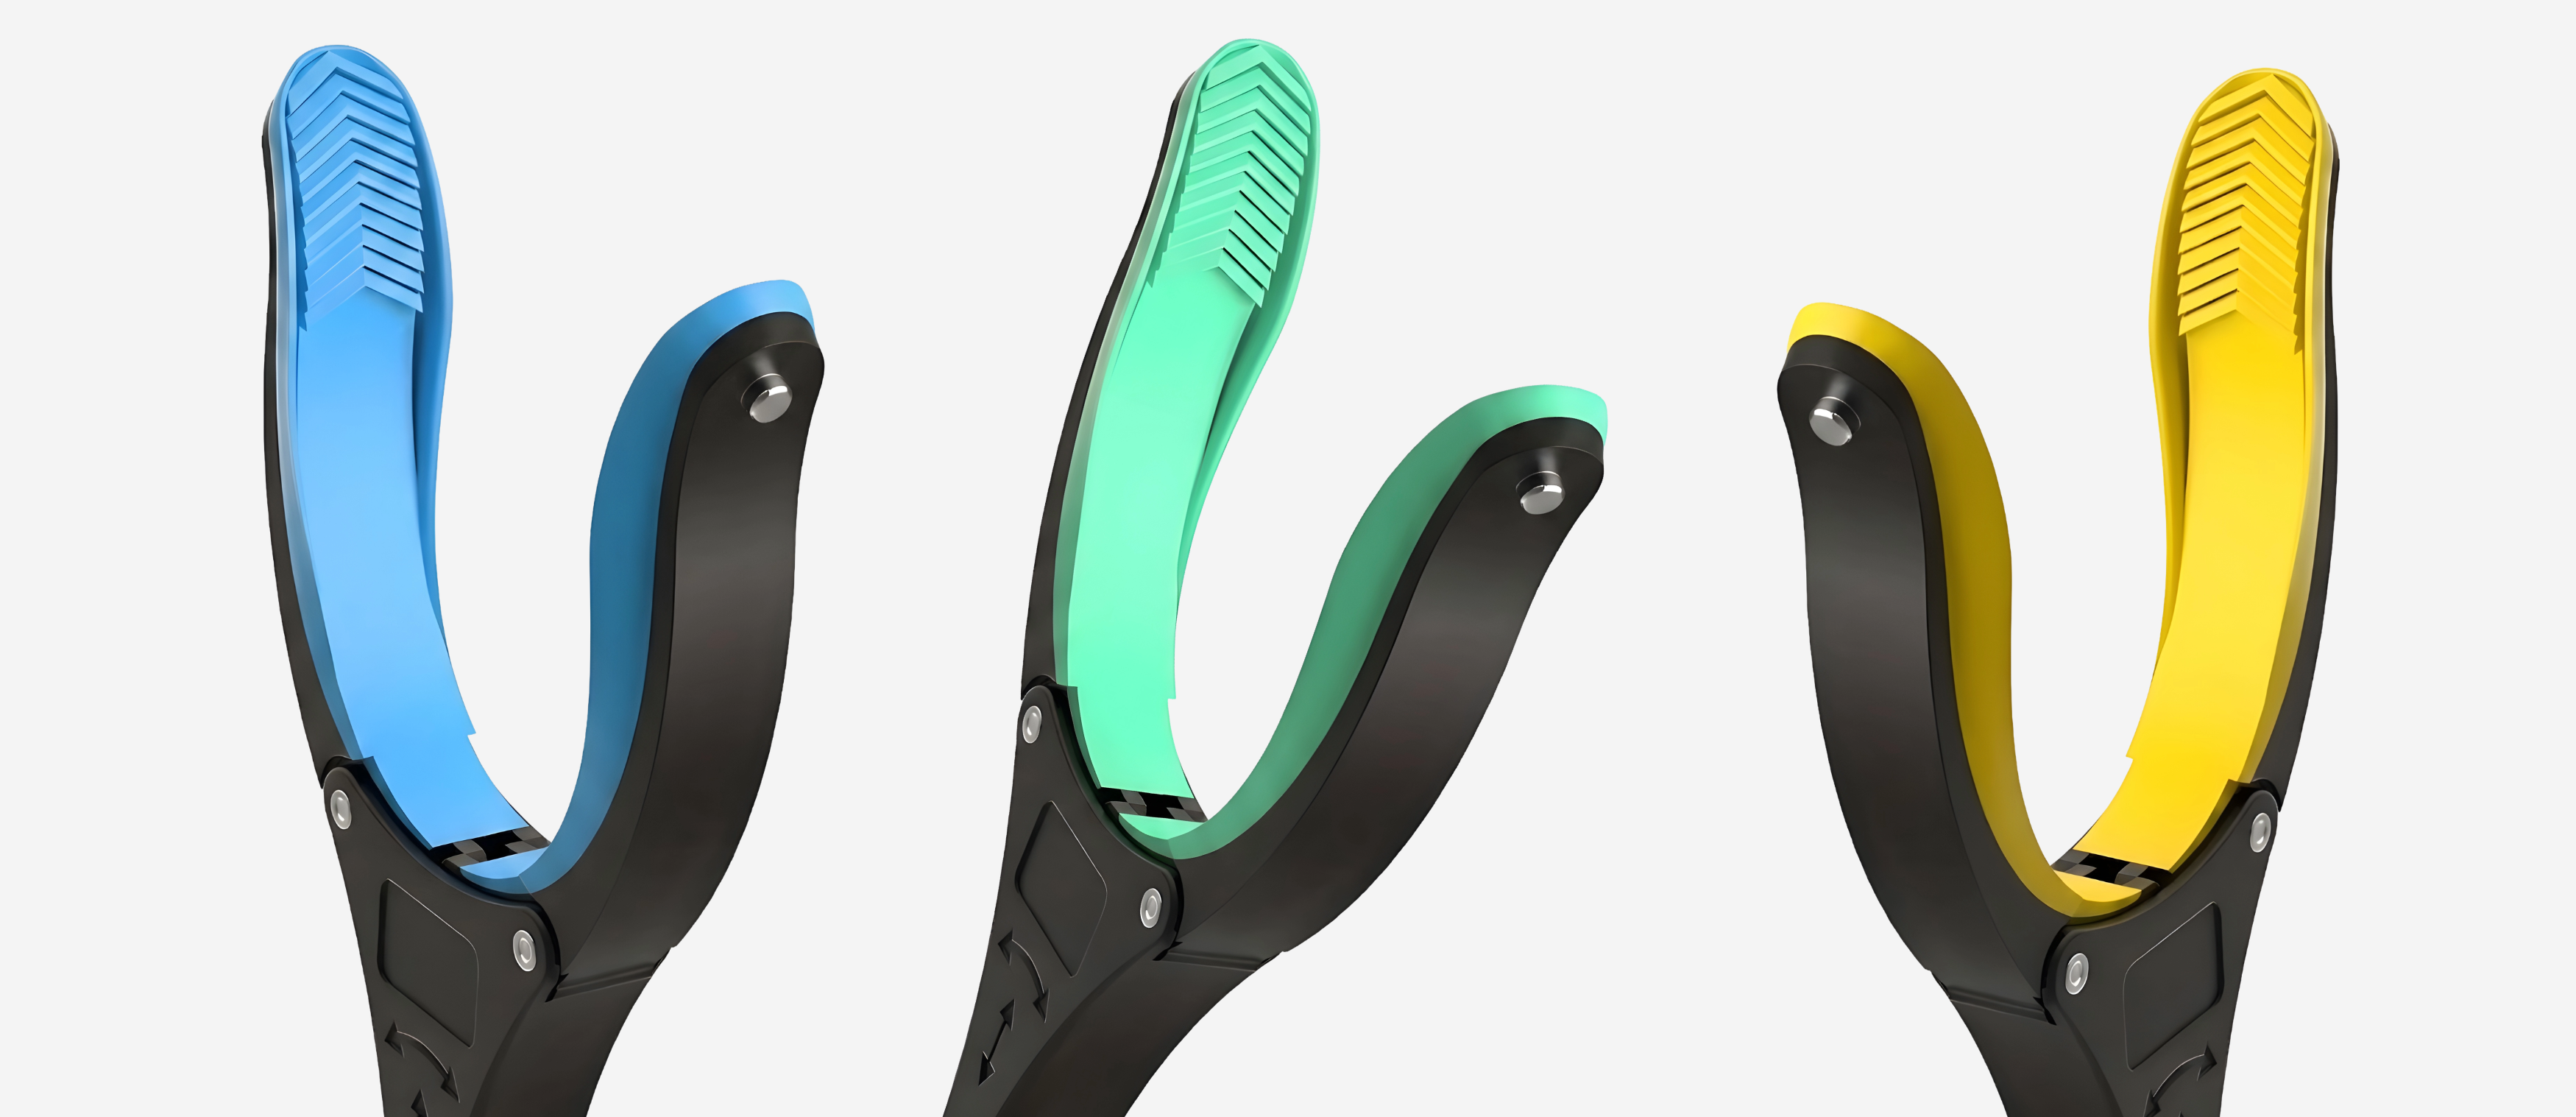
Identify every location in the kitchen where reaching is difficult (floor, high cabinets, back of low cabinets) and station a reacher within arm's reach of that point. A 32-inch Reacher stored on a counter hook at the primary floor-level access point eliminates the need to search for the reacher when something is dropped.
5. Eliminate the Carry
Carrying items across the kitchen is one of the most injury-risky activities for people with mobility limitations -- it requires balance and arm function simultaneously. Eliminate carrying by sliding items on the counter surface, using a rolling cart, or pre-positioning items at the use location before any task begins.
6. One Task at a Time; Prep Before Cook
The accessible kitchen is not organized for multitasking. Prepare all ingredients before cooking begins, so the cooking phase involves minimal reaching and movement. This is the mise en place principle applied to adaptive function -- it reduces the task complexity during the highest-risk phase of cooking (when heat is involved).
7. Create a Seated Workstation
Any kitchen that does not have a seated work option is inaccessible for fatigue, breathlessness, and standing-limited users. A cut-down section of counter (32 to 34 inches) or a rolling kitchen cart at seated height allows food preparation from a chair, eliminating the standing requirement for any task.
See the full adaptive kitchen tool collection and reacher collection.


