

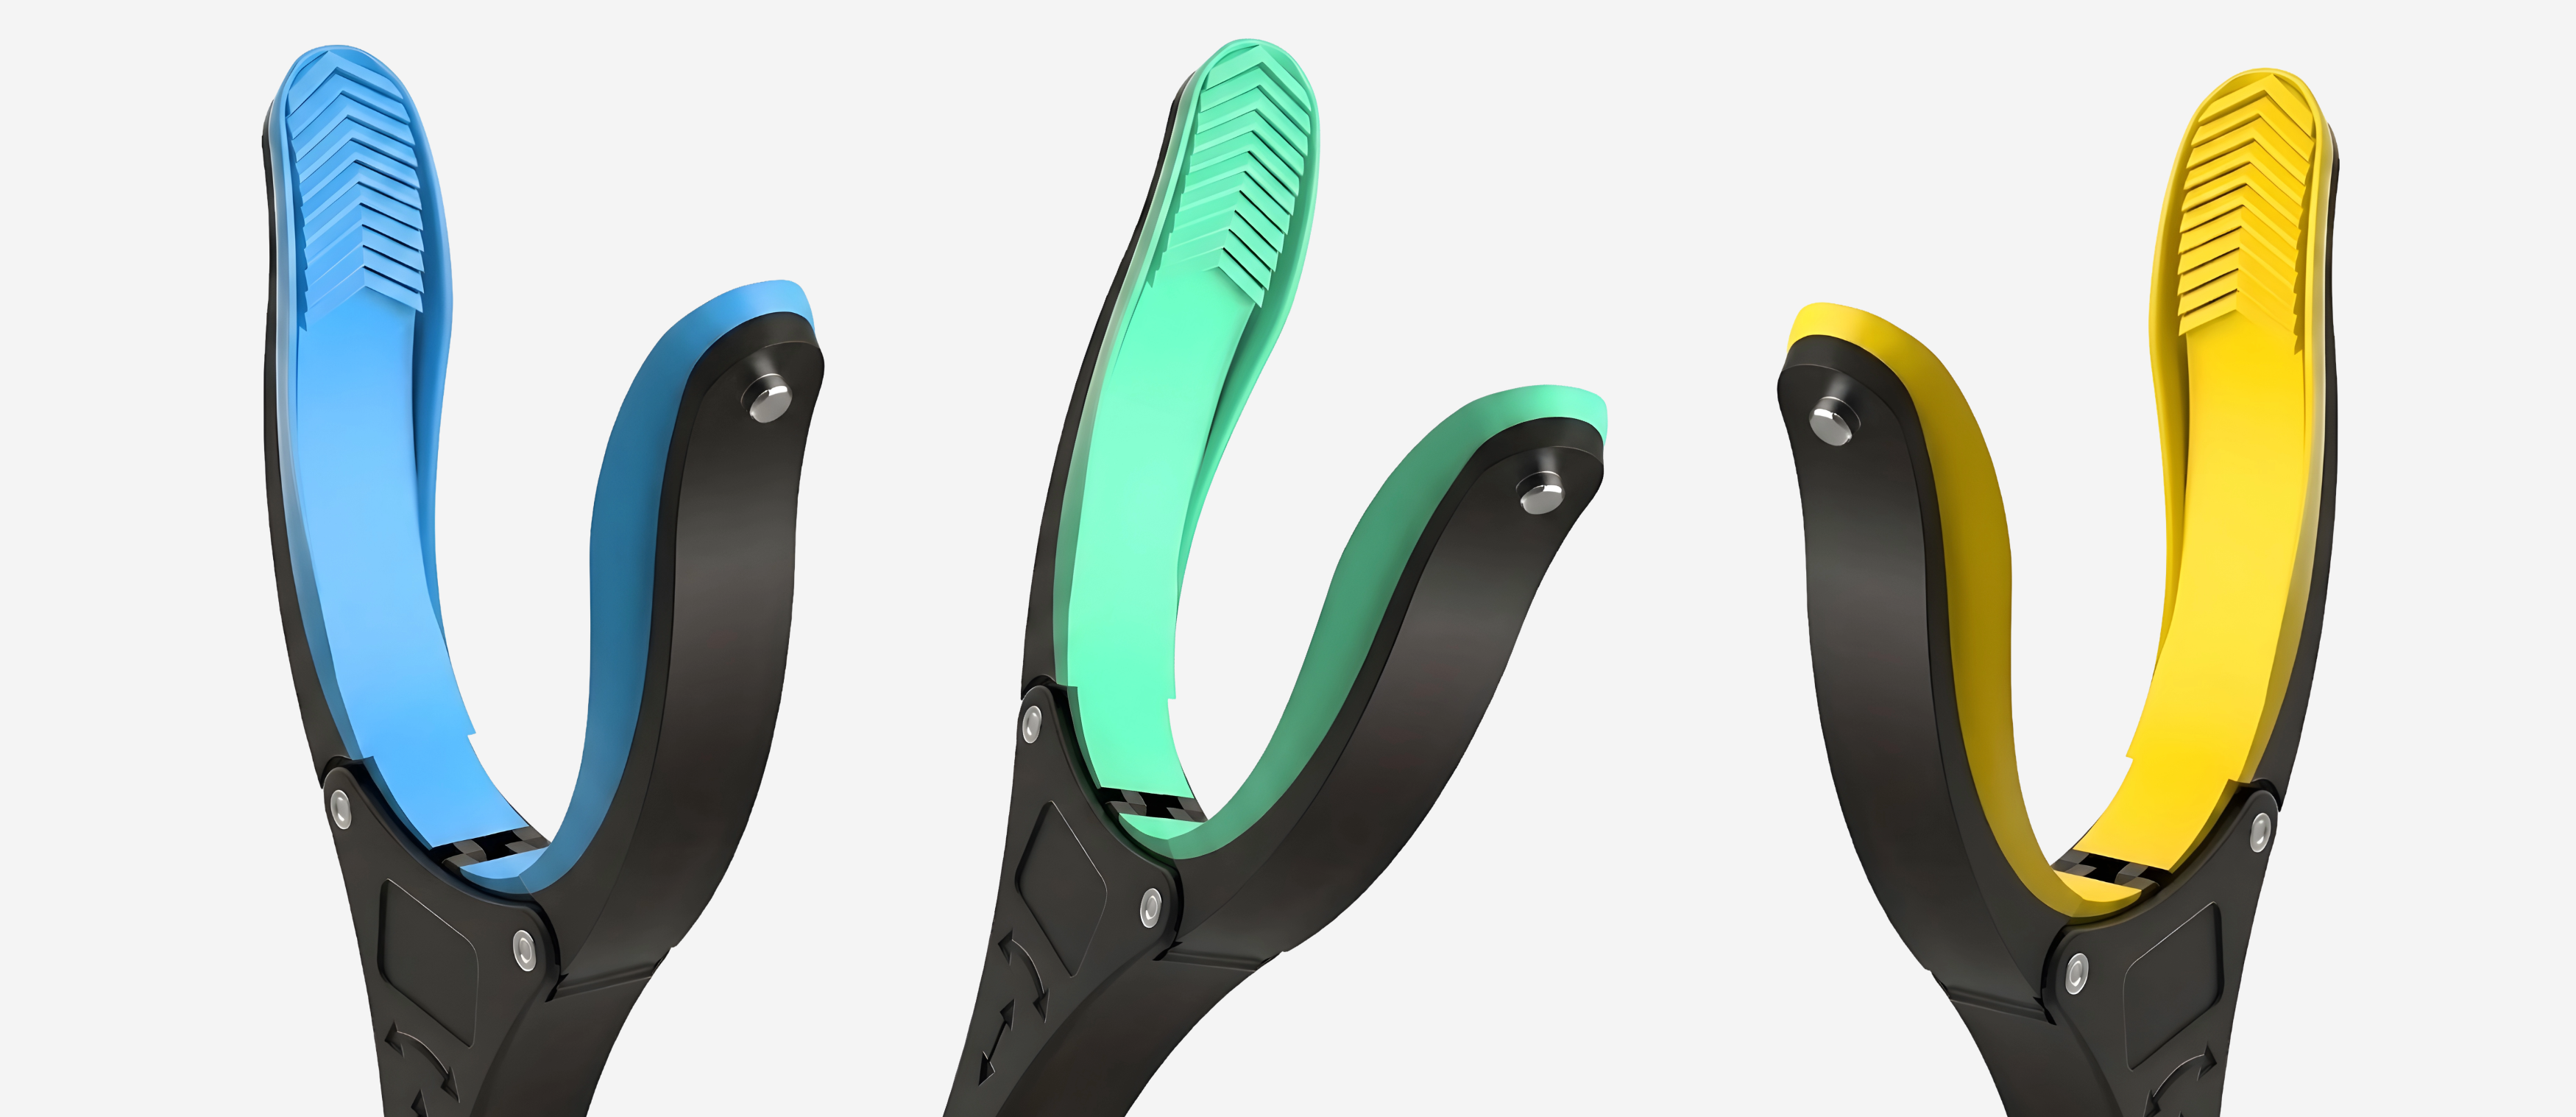
GrabbersTool's customer support team has fielded enough return requests and technique questions to identify the pattern clearly: most grabber tool failures are not product failures. They are technique failures — and almost all of them resolve with a single adjustment to grip, angle, or approach sequence. The tool is blamed; the technique is the actual variable.
Direct answer: the seven most common grabber tool mistakes are squeezing before contact, wrong jaw angle, gripping at the jaw tip rather than the jaw body, using the wrong length tool for the task, failing to set the rotating head before the reach, overloading the jaw with excessive weight, and storing the tool in an inaccessible position. Each one has a specific, immediate fix.
Mistake 1: Squeezing the Trigger Before the Jaw Contacts the Object
This is the highest-frequency error GrabbersTool observes. The user squeezes the trigger while approaching the object, arrives at the object with a closed jaw, then tries to reopen and regrip — often knocking the object further away in the process.
The fix: approach with the jaw open. Let the jaw rest against or around the object before applying any trigger pressure. Confirm contact visually, then squeeze. This sequence — approach, contact, grip — takes 3–5 repetitions to become automatic.
Mistake 2: Wrong Jaw Angle for the Approach
A fixed jaw angle requires the user to position their entire body to match the jaw's orientation. With a rotating head, the jaw can be preset to the correct angle before the reach begins — but most users leave the head in its default position regardless of the task.
The fix: before extending the tool, rotate the jaw head to match the approach angle needed. For floor retrieval in front of the body: jaw pointing directly down. For overhead shelf retrieval: jaw angled upward at 45 degrees. For items to the side on a counter: jaw rotated 90 degrees laterally. Set the angle at waist height where you have visibility and control, then extend.
Mistake 3: Gripping at the Jaw Tip Instead of the Jaw Body
The tip of the jaw — the furthest point — provides the least grip security. Objects gripped only at the tip are more likely to slip on the return journey. This is especially common when reaching into a tight space where full jaw insertion is not possible.
The fix: position the jaw so the object contacts the rubber pad on the jaw body, not just the tip. If the space is too narrow for full jaw insertion, use the Precision Grabber 33" — its narrower jaw profile allows full jaw engagement in tighter spaces.
Mistake 4: Using the Wrong Length Tool for the Task
| Task | Wrong Length | Problem It Creates | Correct Length |
|---|---|---|---|
| Floor retrieval from standing | 32" for very tall users | Requires trunk bend to reach floor | 43" — 43" Reacher |
| In-vehicle use | 43" | Too long to maneuver in cabin | 32" — 32" Reacher |
| Dressing — socks | 43" | Difficult to control at close range | 32" — 32" Reacher |
| High shelf access | 32" | Does not reach target height | 43" — 43" Reacher |
| Small object retrieval in gaps | Standard jaw width | Jaw too wide to enter gap | Precision — Precision Grabber 33" |
The full reach range, jaw width, and recommended task list for each GrabbersTool model are on the respective product pages. Length selection is the single most impactful specification decision. Compare all models →
Mistake 5: Not Setting the Rotating Head Before the Reach
Attempting to rotate the jaw head while the tool is fully extended — especially overhead — requires a two-handed maneuver that destabilizes the reach and risks dropping both the tool and the target object.
The fix: always set the rotating head before extending. The head adjustment takes two seconds at waist height. It saves a failed retrieval attempt at the end of a fatiguing reach.
Mistake 6: Overloading the Jaw
GrabbersTool's jaw mechanism is designed for sustained loads up to approximately 1.5kg. Objects heavier than this — a full 1-liter water bottle, a heavy pot lid, a dense tool — exceed the jaw's designed grip capacity. The jaw does not fail catastrophically, but grip reliability decreases and the spring mechanism fatigues faster with repeated overloading.
The fix: for objects above 1kg, use the grabber to slide the object to the shelf edge first, then transfer by hand. This two-step approach — reposition with the tool, transfer by hand — handles heavy objects safely without overloading the jaw.
Mistake 7: Storing the Tool in an Inaccessible Location
The grabber tool's value is immediate availability. A tool stored in a cupboard, a high shelf, or a room other than where it is needed provides no benefit at the moment of need — which is precisely when the user cannot access it without assistance.
The fix: store one grabber tool in each room where it will be used. GrabbersTool customers who manage post-surgical recovery or ongoing mobility limitations consistently report that having multiple units — one in the bedroom, one in the kitchen, one in the bathroom — produces a meaningfully different daily experience than a single tool that must be carried between rooms.
The cost of a second or third unit is typically less than the cost of one aide call-out for a retrieval task the tool would have handled independently.
The Fatigue Pattern: When Technique Errors Compound
GrabbersTool's support team hears a consistent pattern: a user attempts a retrieval with the wrong angle and the wrong approach sequence, the object slips, the user tries again, fatigues during the repeated attempts, and concludes the tool does not work. In almost every case, addressing mistakes 1 and 2 — approach-before-squeeze and preset jaw angle — resolves the issue entirely.
See also: Heavy Duty vs Lightweight Grabber Tool for selecting the correct construction type, and How to Reach Items on Top Shelves Safely for overhead-specific technique guidance.
Browse the Reacher Grabber Tools collection to match the correct model to your primary use case.


