

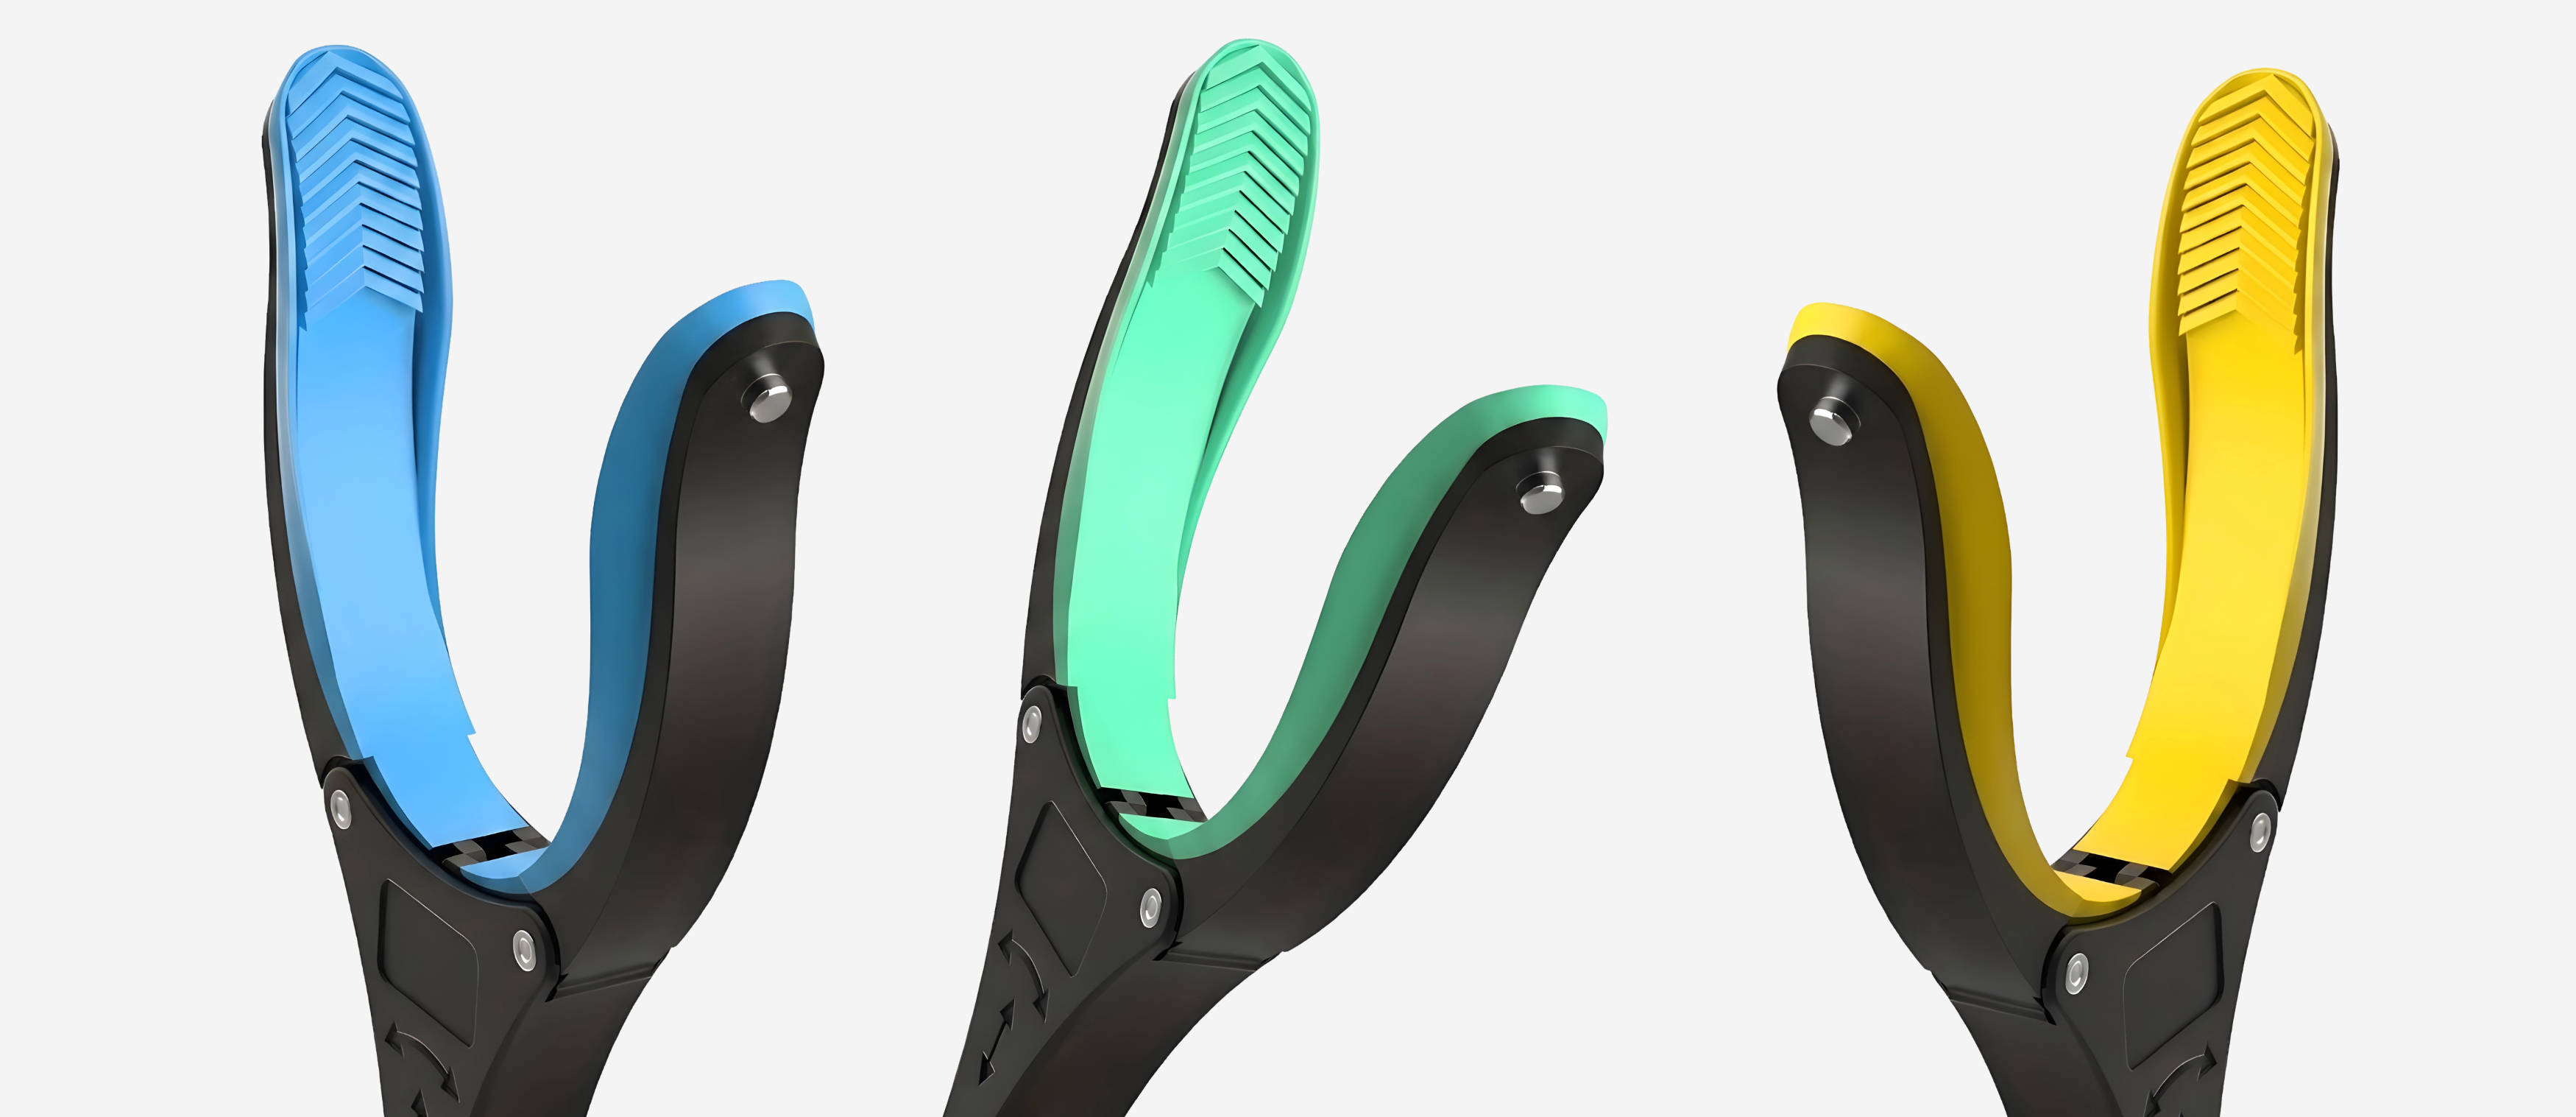
Getting dressed after hip replacement surgery is the first independence test most patients face at home — and the one that most frequently results in a called family member, a fall risk, or a violated hip precaution. The 90° hip flexion restriction makes pulling on pants, socks, and shoes a geometric puzzle. A reacher grabber solves the puzzle. This is the exact technique.
The Hip Precaution Problem
Standard hip precautions after total hip replacement (THR):
- No bending the operated hip past 90°
- No crossing the operated leg over the midline
- No rotating the foot of the operated leg inward
Putting on socks requires bending approximately 120–140°. Putting on pants requires bending 90–110°. Putting on shoes requires bending 100–130°. None of these are possible within precautions without a tool. A reacher grabber reduces all three to zero bending.
Equipment Needed
- GrabbersTool Reacher Grabber 32" — the primary tool for all three tasks
- A long-handled shoe horn (not sold by GrabbersTool — complements the system)
- A sock aid (not sold by GrabbersTool — used for socks specifically)
- Seated position — dressing standing is possible but seated is safer during recovery
How to Put On Underwear and Pants
Setup: Sit on the bed or a firm chair. Both garments go on together to minimize the number of standing sequences.
- Lay pants and underwear flat on the bed in front of you
- Thread underwear inside the pants waistband (dressing both at once)
- Use the GrabbersTool claw to hook the waistband of both garments
- Lower the grabber toward your feet — the garments should hang from the claw
- Guide the waistband to the foot of your operated leg first — hook it over the foot
- Then guide to the non-operated leg foot
- Pull both garments up to knee level using the grabber — keep gripping the waistband
- At knee level, stand slowly (using a standing assist if needed) and pull the rest up by hand
Critical rule: Do not lean forward at any point during steps 1–6. If the garment is not reachable without leaning, use a longer reach — the 43" model gives an additional 11 inches of reach from the seated position.
How to Put On Socks
Socks are the hardest item. A sock aid is the purpose-built solution — it eliminates the need for any bending at all. With a reacher grabber only (no sock aid), this is the technique:
- Turn the sock half inside-out so the toe end forms a cup shape
- Use the GrabbersTool claw to hold the sock by the cuff — not the toe
- Lower the sock toward the operated foot
- Hook the sock over the toe of the operated foot using the claw's side profile
- Once the toe is in, use the claw to drag the cuff up toward the heel — a pushing-up motion along the back of the foot
- Stand to pull the sock fully onto the heel by hand, or continue using the grabber from seated
Note: This technique is easier with the 360° rotating claw on the GrabbersTool models. Fixed-claw grabbers cannot achieve the side-hook motion in step 4.
How to Put On Shoes
- Use a long-handled shoe horn for the heel entry — this is not replaceable with a grabber alone
- Once the foot is in the shoe, use the GrabbersTool claw to pull the tongue of the shoe up and forward
- Use the claw tip to push the heel strap down if wearing slip-on shoes
- For lace-up shoes: switch to slip-on or velcro shoes during recovery — lacing from seated without bending is not achievable safely
Recovery Week Timeline
| Recovery Week | Dressing Independence Level | Primary Tool Needed |
|---|---|---|
| Week 1–2 | Assistance required for lower body | Reacher grabber for guidance; assistance for completion |
| Week 3–4 | Lower body dressing with tools only | Reacher grabber + sock aid + long shoe horn |
| Week 5–8 | Full independent dressing with tools | Reacher grabber for socks and shoes |
| Week 9–12 | Gradual return to unaided dressing | Reacher grabber as backup |
The complete post-surgery independence guide — including the standing-to-seated transfer sequence and bathroom safety protocol — is available at GrabbersTool's Hip Surgery Recovery Guide.
The GrabbersTool 32" Reacher ships within 1–2 business days with free shipping — order before surgery discharge for arrival on day one at home. See the full Reacher Grabber Tools collection.


