Section 01
Why You Need a Reacher Grabber Tool After Hip Replacement
After total hip replacement surgery, your surgeon will give you a strict set of movement restrictions — most commonly a prohibition on bending your hip past 90 degrees. This single restriction makes dozens of everyday tasks suddenly impossible: picking up a dropped phone, putting on socks, retrieving something from a low shelf, or simply gathering items off the floor.
A reacher grabber tool bridges exactly this gap. It extends your reach by 32 to 43 inches so you can retrieve objects, manage clothing, and maintain independence without ever endangering your new joint. Occupational therapists consistently list it as the most important adaptive tool for post-hip-replacement recovery — alongside a long-handled shoehorn and a sock aid.
This guide explains what to look for, which length is right for your situation, and why the right tool makes weeks of recovery significantly less frustrating.
Your hip must not flex past 90° in the weeks after surgery. A grabber lets you work around this daily.
Most patients face movement restrictions for 6 to 12 weeks. A good grabber is an investment, not a throwaway.
The longest grabber tool reaches the floor from standing height — covering the full range of recovery tasks.

Section 02
Hip Precautions After Replacement — What They Actually Mean Day-to-Day
Standard hip replacement precautions vary slightly by surgical approach (posterior vs. anterior), but the most common restrictions are:
No bending past 90°
Do not bend forward at the waist to reach anything below knee height. This is the most impactful restriction for daily tasks.
No crossing legs
Crossing your legs or rotating your foot inward puts the new joint at risk of dislocation.
No pivoting on the leg
Turn by taking small steps rather than pivoting on the operated leg.
No low seating
Avoid chairs, toilets, or surfaces that bring your knee above your hip — raised toilet seats are typically prescribed.
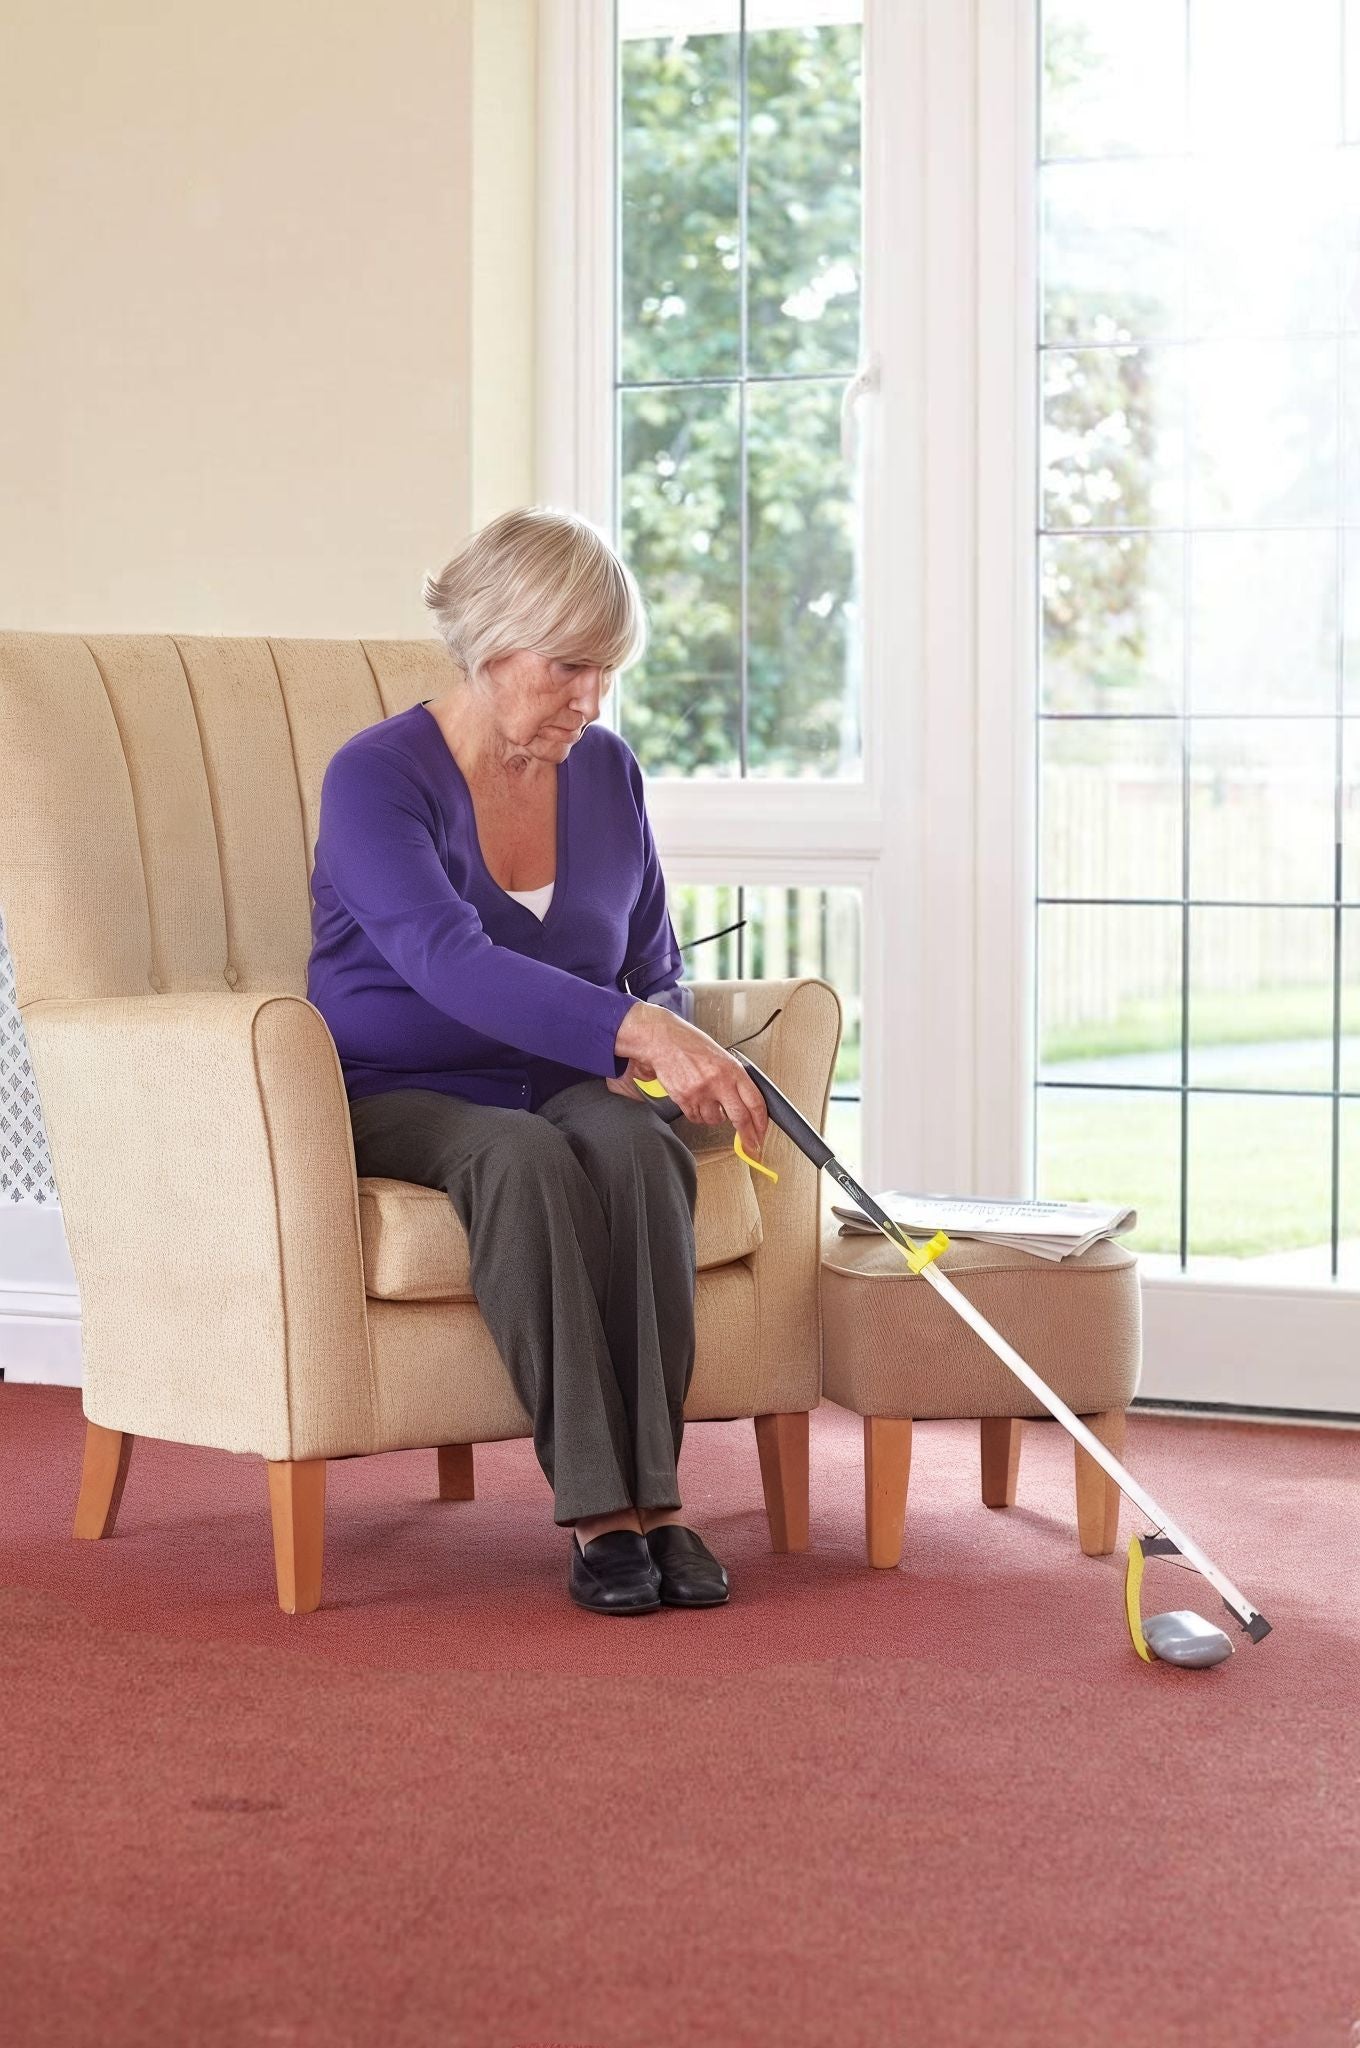
A reacher grabber tool addresses the first restriction directly and repeatedly. Every time something falls to the floor — a pen, a phone, a sock — a grabber means you do not have to call for help or risk an unsafe bend.
Always verify with your surgeon. Precautions vary by surgical approach and individual anatomy. Your orthopedic surgeon or physiotherapist is the final authority on what movements are safe for you specifically.
Section 03
Choosing the Right Length: 32-Inch vs 43-Inch Grabber
The most important decision when selecting a grabber for hip replacement recovery is length. Too short, and you still have to lean dangerously forward. The right length means you can reach the floor from standing without engaging your hip flexors at all.
The floor-from-standing test. Stand upright and hold a stick or ruler straight down. If it reaches the floor, your grabber at that length will let you retrieve items without bending. For most adults, 43 inches is the key threshold for floor-level reach from standing. A 32-inch grabber works well for reaching from seated.
Read the full 32" vs 43" comparison →| Length | Best Use Case | From Seated | Floor From Standing | Recommendation |
|---|---|---|---|---|
| 32 inches | Seated recovery tasks, reaching mid-level shelves, dressing from chair | Ideal | Partial lean needed | Best for early post-op seated phase |
| 43 inches | Floor retrieval from standing, dressing standing up, low shelves | Works well | Ideal | Best overall for hip replacement recovery |
| 33" Precision | Detail tasks, small objects, fine motor reach | Ideal | Limited | Excellent supplement for finer tasks |
Many post-surgery patients benefit from having both a 43-inch grabber (for floor-level tasks from standing) and a 32-inch or precision grabber (for finer tasks while seated in a recovery chair). If budget allows one tool, the 43-inch grabber is the higher-priority choice for hip replacement recovery.

Section 04
Key Features to Look for in a Hip Replacement Grabber Tool
Not all grabber tools perform equally during post-surgical recovery. The following features matter most when your ability to bend is restricted and your grip strength may be reduced from medication or inactivity.
Lightweight shaft
You may be using a walker or crutches with one hand. Your grabber should weigh under 200 g (7 oz). Aluminum shafts offer the best weight-to-strength ratio.
Rotating jaw
A 90-degree rotating jaw means you can reorient the grip without twisting your wrist or adjusting your stance — critical when mobility is limited.
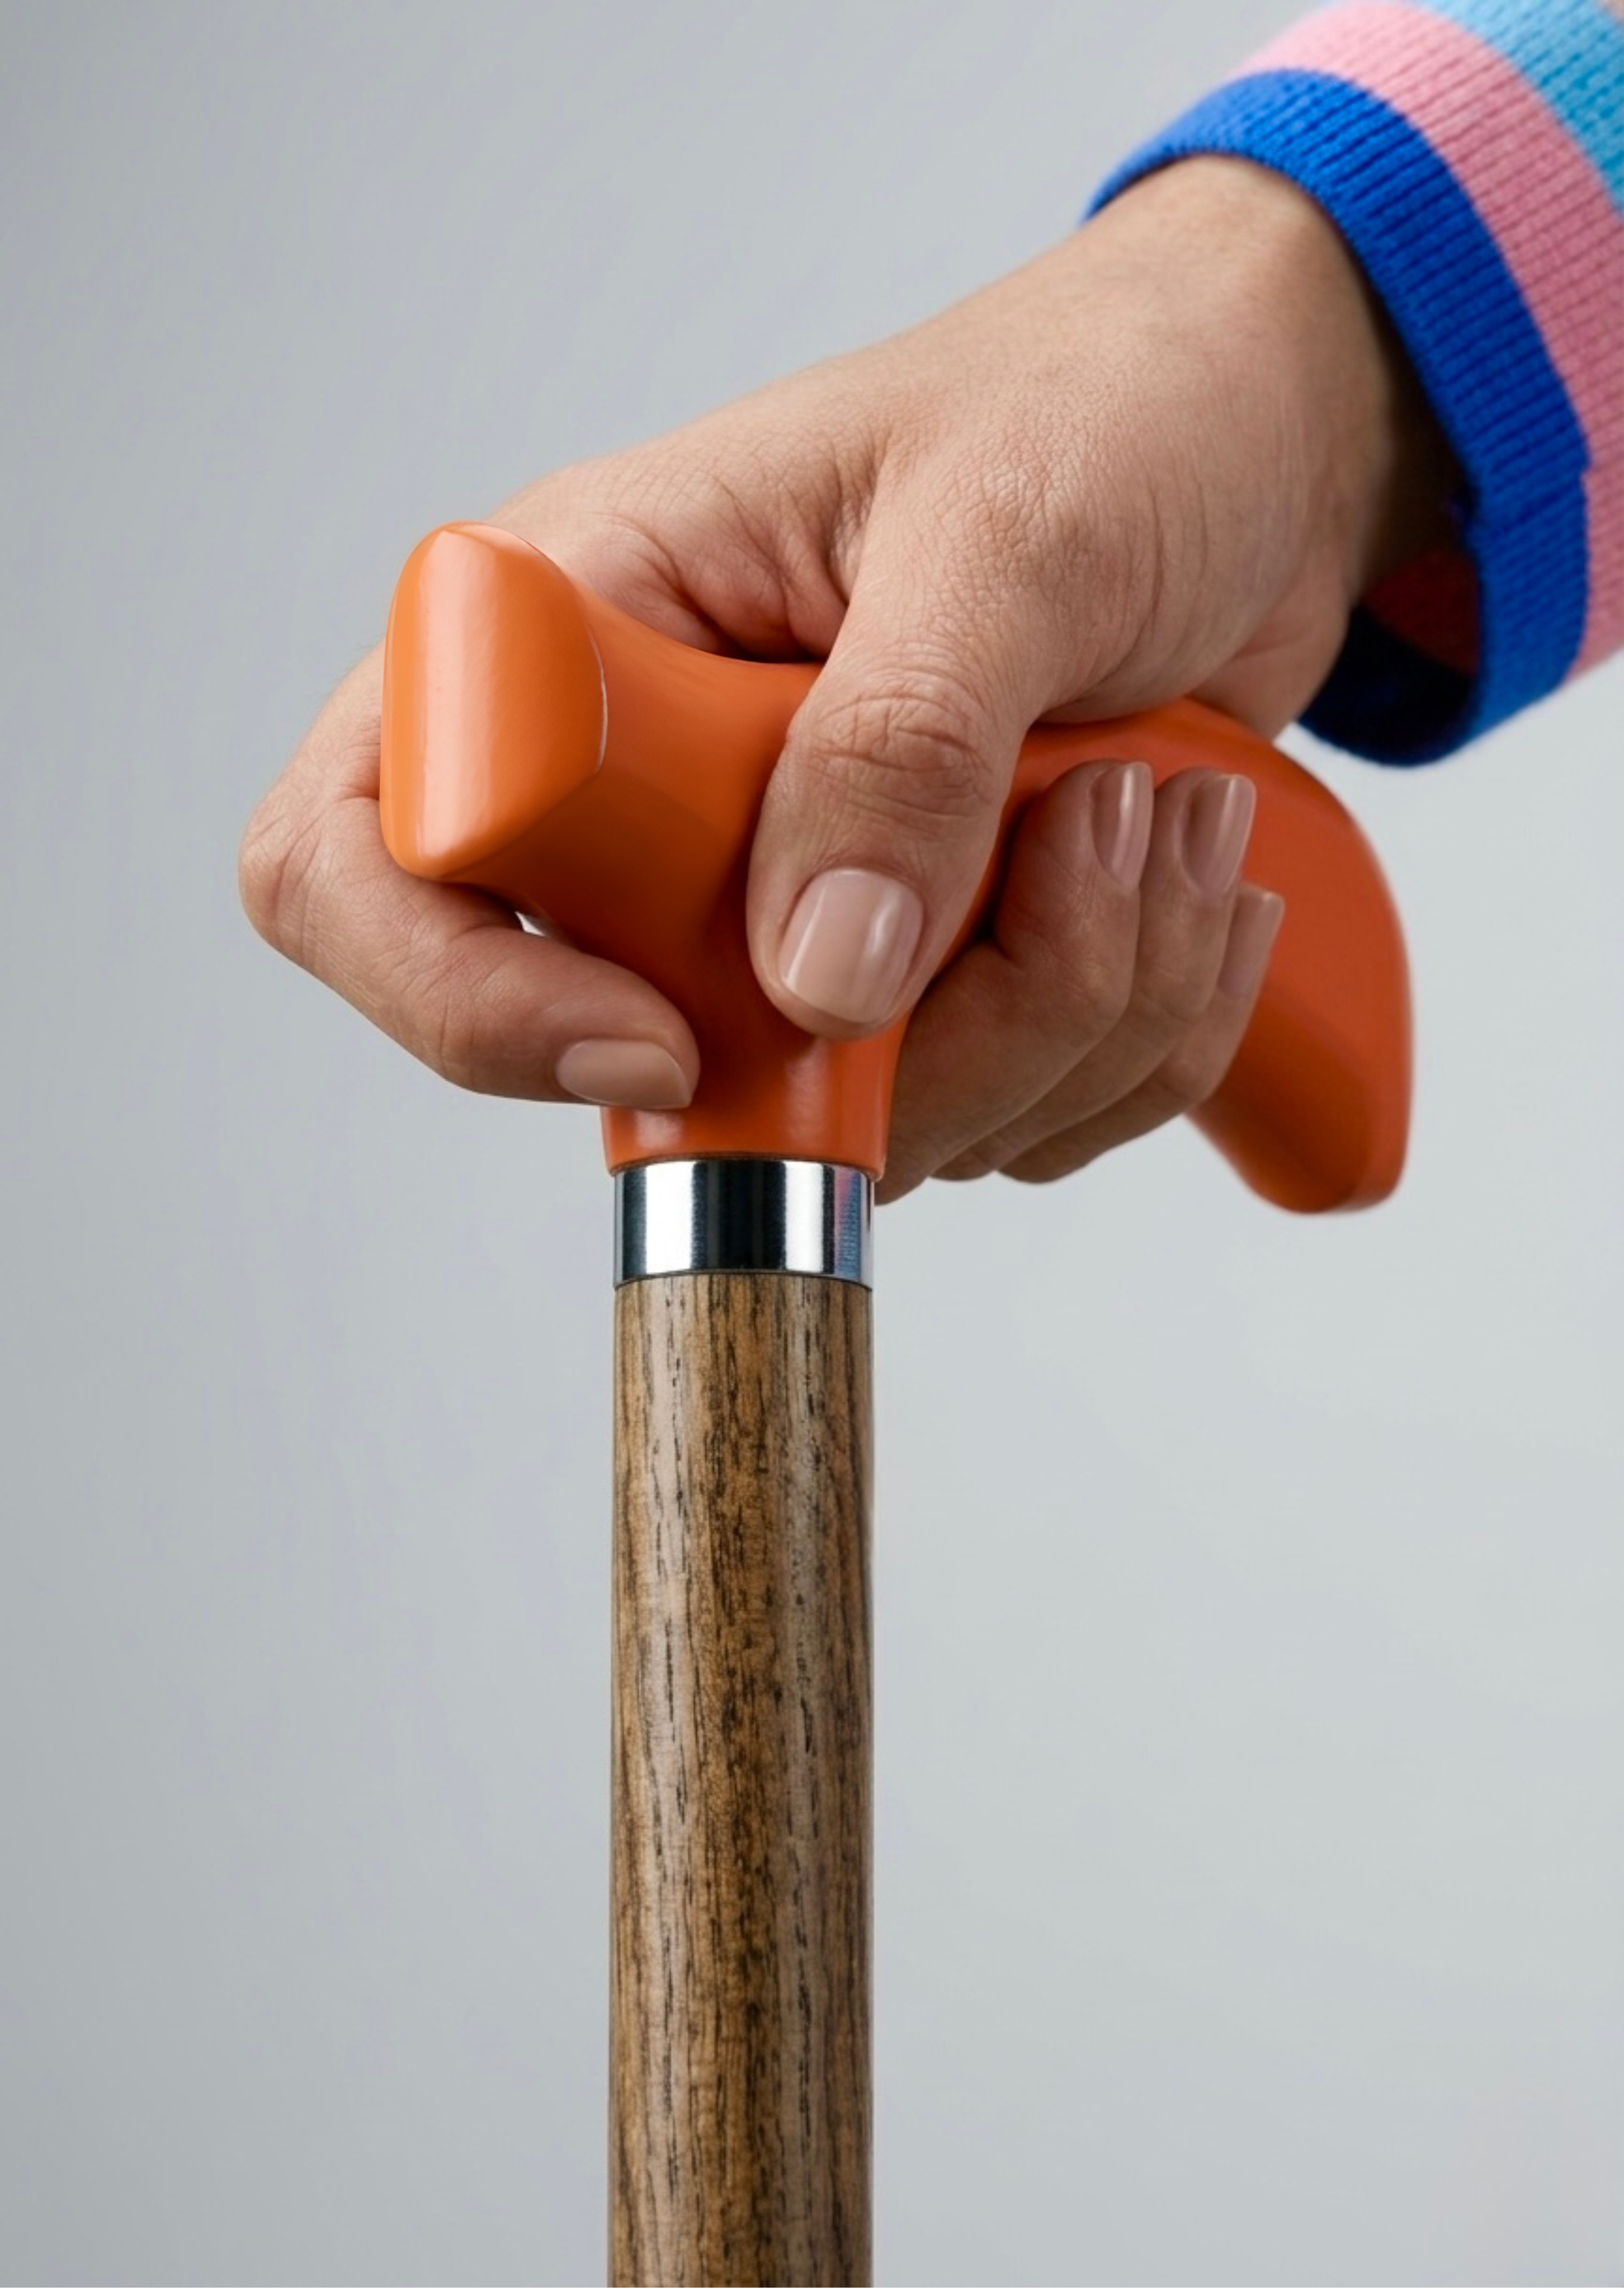
Trigger grip
A pistol-style trigger requires far less hand strength than squeeze-grip designs. Easier to close reliably when grip is weakened.
Non-slip jaw pads
Silicone or rubber jaw pads grip lightweight objects like clothing and phones without crushing or dropping them. Essential for daily recovery tasks.
Magnet tip
A magnetic tip on the jaw retrieves metal items like keys and coins from the floor without needing to close the jaws — very useful during recovery.
Wrist loop
A wrist strap prevents dropping the grabber itself, which would require you to pick it up — the exact problem it exists to solve.
GrabbersTool Design Standard
Built specifically for people who depend on it daily.
Every GrabbersTool reacher is engineered with the specific challenges of elderly users and post-surgery recovery in mind — not as an afterthought, but as the design brief.
- Lightweight aluminum shaft under 200g — usable with one hand while the other holds a walker
- 90-degree rotating jaw for multi-angle reach without repositioning
- Pistol trigger designed for arthritic or weakened hands
- Non-slip silicone jaw pads for reliable grip on fabric, paper, and lightweight objects
Section 05
GrabbersTool Product Comparison for Hip Replacement Recovery
All three GrabbersTool reacher grabbers are suitable for hip replacement recovery. Here is how they differ, and which is best suited to each phase of recovery.
| Product | Length | Best For | Key Feature | Phase |
|---|---|---|---|---|
| Reacher Grabber 43" | 43 inches | Floor retrieval from standing, dressing | Maximum reach, rotating jaw | All phases |
| Reacher Grabber 32" | 32 inches | Seated tasks, mid-range reach | Compact, easy to store bedside | Early seated phase |
| Precision Grabber 33" | 33 inches | Fine tasks, small objects, detailed reach | Precision jaw for small items | Mid-recovery & ongoing |
Shop reacher grabber tools

Section 06
How to Use a Grabber Tool Safely After Hip Replacement
Even with a grabber, technique matters. Using it incorrectly can strain your shoulder, cause you to lose balance, or fail to retrieve the object cleanly. These practices will help you use your grabber confidently from day one.
Keep your back straight
Do not lean forward even when using the grabber. Let the tool's length do the work — your posture should remain upright at all times.
Use a stable base
If standing, ensure your feet are shoulder-width apart before reaching. If you use a walker, keep one hand on it for balance while the other operates the grabber.
Rotate the jaw, not your wrist
Use the jaw rotation feature to angle the grip toward your target — avoid twisting your wrist or arm into uncomfortable positions to compensate.
Test weight before lifting
Pinch the object lightly first. If it seems too heavy (anything above 1–2 kg), ask for help rather than risking a dropped item or loss of balance.
Use the wrist loop
Always use the wrist loop so a dropped grabber does not become a hazard on the floor — exactly the problem you are trying to avoid.
Store within arm's reach
Keep the grabber beside your bed, recovery chair, and bathroom door at all times. A grabber in another room is not useful when something falls at your feet.
Dressing after hip replacement. A grabber tool, long-handled shoehorn, and sock aid form the essential trio for independent dressing. Use the grabber to manage waistbands, trouser legs, and to pull clothing toward you from a seated position without bending forward.
Full independence guide for home recovery →
Section 07
Frequently Asked Questions
Most orthopedic surgeons recommend starting to use a reacher grabber tool immediately after hip replacement surgery — often from day one of recovery at home. It is one of the first adaptive tools provided by occupational therapists precisely because bending past 90 degrees is prohibited during the early healing phase. You do not need to wait for a later stage of recovery to begin using it.
A 32-inch grabber tool works well for most seated tasks such as picking items off a low table or floor nearby. A 43-inch grabber tool is better for reaching the floor from standing, picking up socks, or retrieving items from low shelves without bending. Many post-surgery patients benefit from having both lengths for different tasks — the 43-inch for standing use and the 32-inch beside the bed or chair.
Yes. A long-reach grabber tool used alongside a long-handled shoehorn and sock aid makes dressing completely independent after hip replacement. The grabber retrieves dropped items and assists with pulling up clothing without requiring you to bend past the 90-degree hip precaution. Many patients find they can dress fully independently within the first few days of home recovery using these three tools together.
After hip replacement, you are often using crutches or a walker with one hand. Your grabber tool should weigh as little as possible — ideally under 200 grams (approximately 7 oz). Lightweight aluminum-shaft grabbers with a comfortable pistol-grip trigger are the gold standard for post-surgical recovery. Avoid grabbers with heavy springs or thick plastic shafts that add unnecessary weight.
For post-hip-replacement recovery, a non-foldable grabber is generally preferable. It offers a rigid, reliable shaft with no potential weak points — important when you depend on it daily and cannot easily bend to pick something up if it fails. Foldable grabbers are more travel-friendly but add a mechanical joint that introduces a point of failure. For home recovery, the simplicity and reliability of a solid shaft is the better choice. Read our full foldable vs non-foldable comparison for more detail.
Most patients use a grabber tool intensively for 6 to 12 weeks following hip replacement. After full clearance from your surgeon — usually at the 3-month mark — many people continue using it for general convenience and fall prevention. A high-quality grabber tool that lasts years is worth buying for the long term rather than an inexpensive disposable option that may fail during your most dependent period.
Yes. GrabbersTool reacher grabbers are specifically designed with arthritic and elderly users in mind. The pistol-grip trigger requires minimal hand strength to operate, the lightweight shaft reduces arm fatigue, and the rotating jaw means you rarely need to reposition the tool awkwardly. Many people with arthritis who undergo hip replacement find these features essential rather than merely convenient. See our guide to the best grabber tools for elderly users for more recommendations.