Section 01
Why Correct Technique Actually Matters
A reacher grabber tool looks simple — squeeze the trigger, grab the object. But without a few basic habits, most people drop items repeatedly, strain their wrist, or damage the tool's jaw mechanism within months.
Good technique means less frustration, greater independence, and a grabber that lasts for years instead of weeks. Whether you're recovering from hip surgery, managing a chronic condition, or simply keeping things convenient, these seven tips will make an immediate difference.
Most grabber problems — dropping, slipping, jaw wear — trace back to just a handful of bad habits.
Most reacher grabbers are rated for 1–2 lbs. Exceeding this is the leading cause of jaw damage.
A 32-inch grabber handles the widest range of daily tasks from floor to mid-shelf height.
The 7 Tips
How to Use a Grabber Tool Correctly
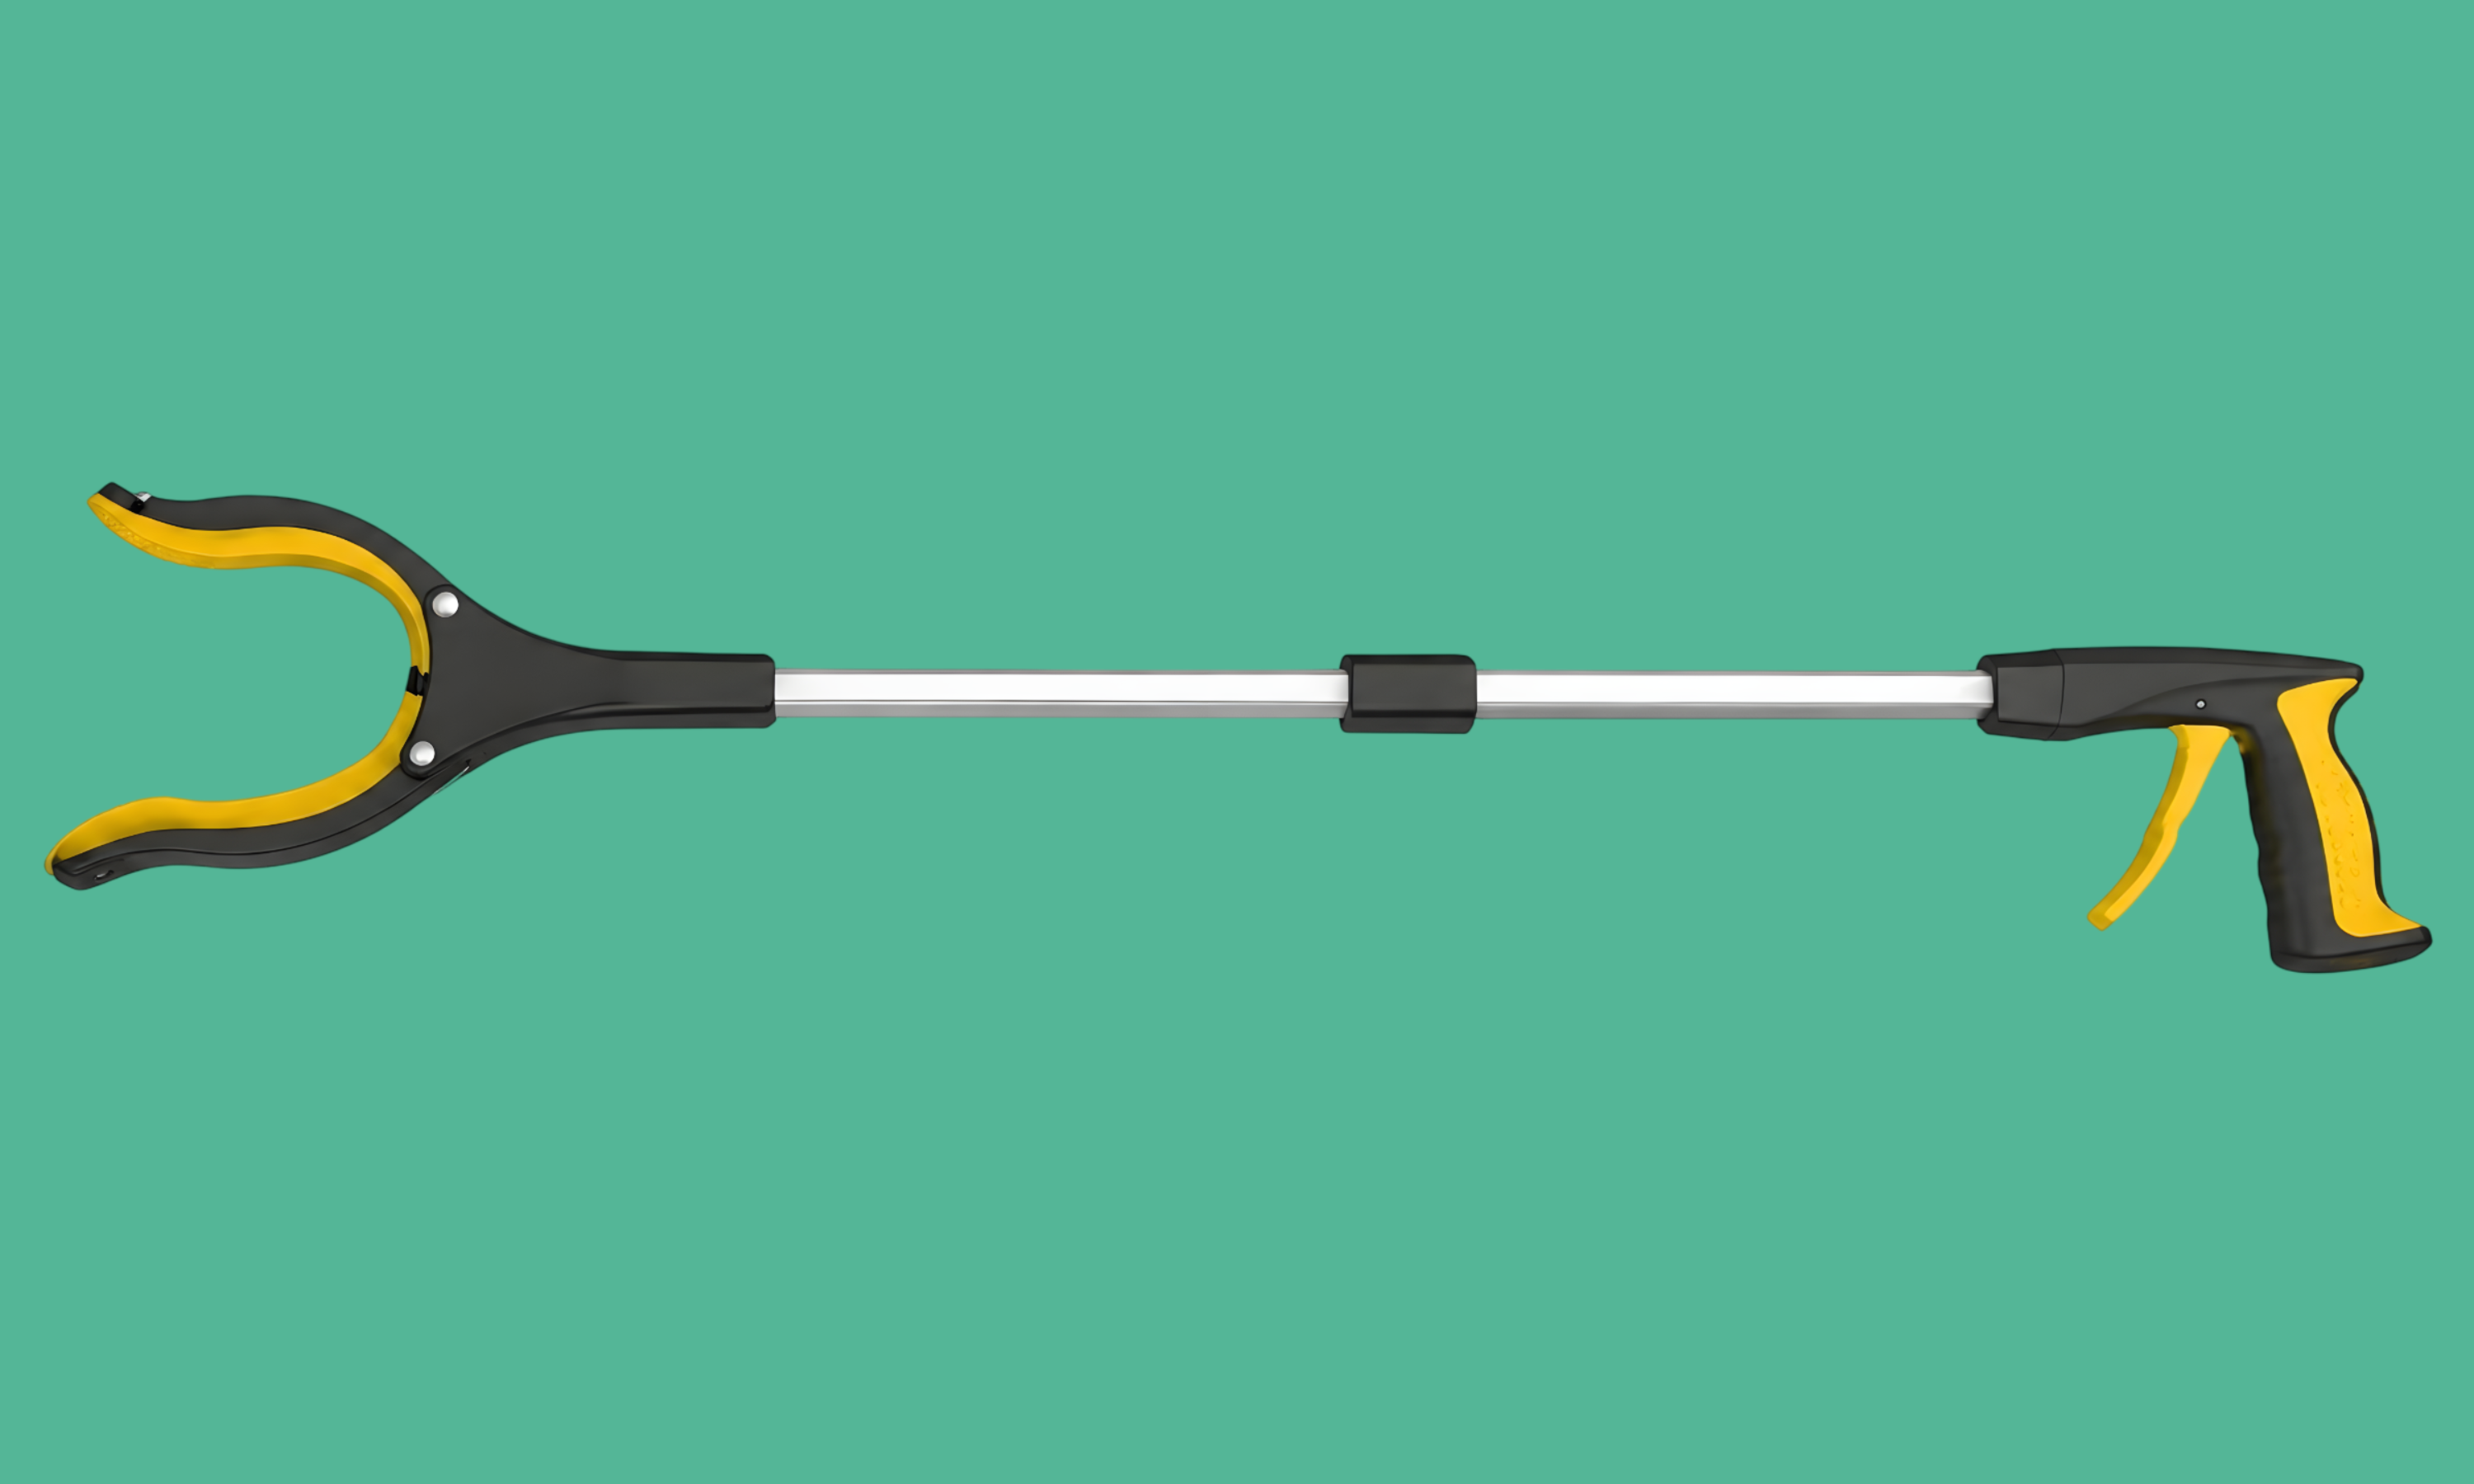
These techniques apply to all standard reacher grabber tools, including 32-inch and 43-inch models. Folding grabbers follow the same rules — just ensure the hinge is fully locked before use.

Hold the Trigger End with a Relaxed Grip
The most common mistake is gripping the trigger handle too tightly. A white-knuckle grip causes hand fatigue within minutes and reduces your tactile feedback — making it harder to feel when the jaw has secured an object.
Instead, hold the handle near the trigger with a relaxed, three-finger grip: index finger on or near the trigger, middle and ring fingers wrapping the handle. Your palm should rest comfortably, not be squeezed tight. Think of how you'd hold a pen — firm enough to control, loose enough to feel.
- Right-handed users: hold in your right hand for maximum control
- Post-surgery: your occupational therapist may specify which hand — always follow their guidance
- Arthritis or limited grip: look for models with a pistol-style or looped trigger that requires less finger strength
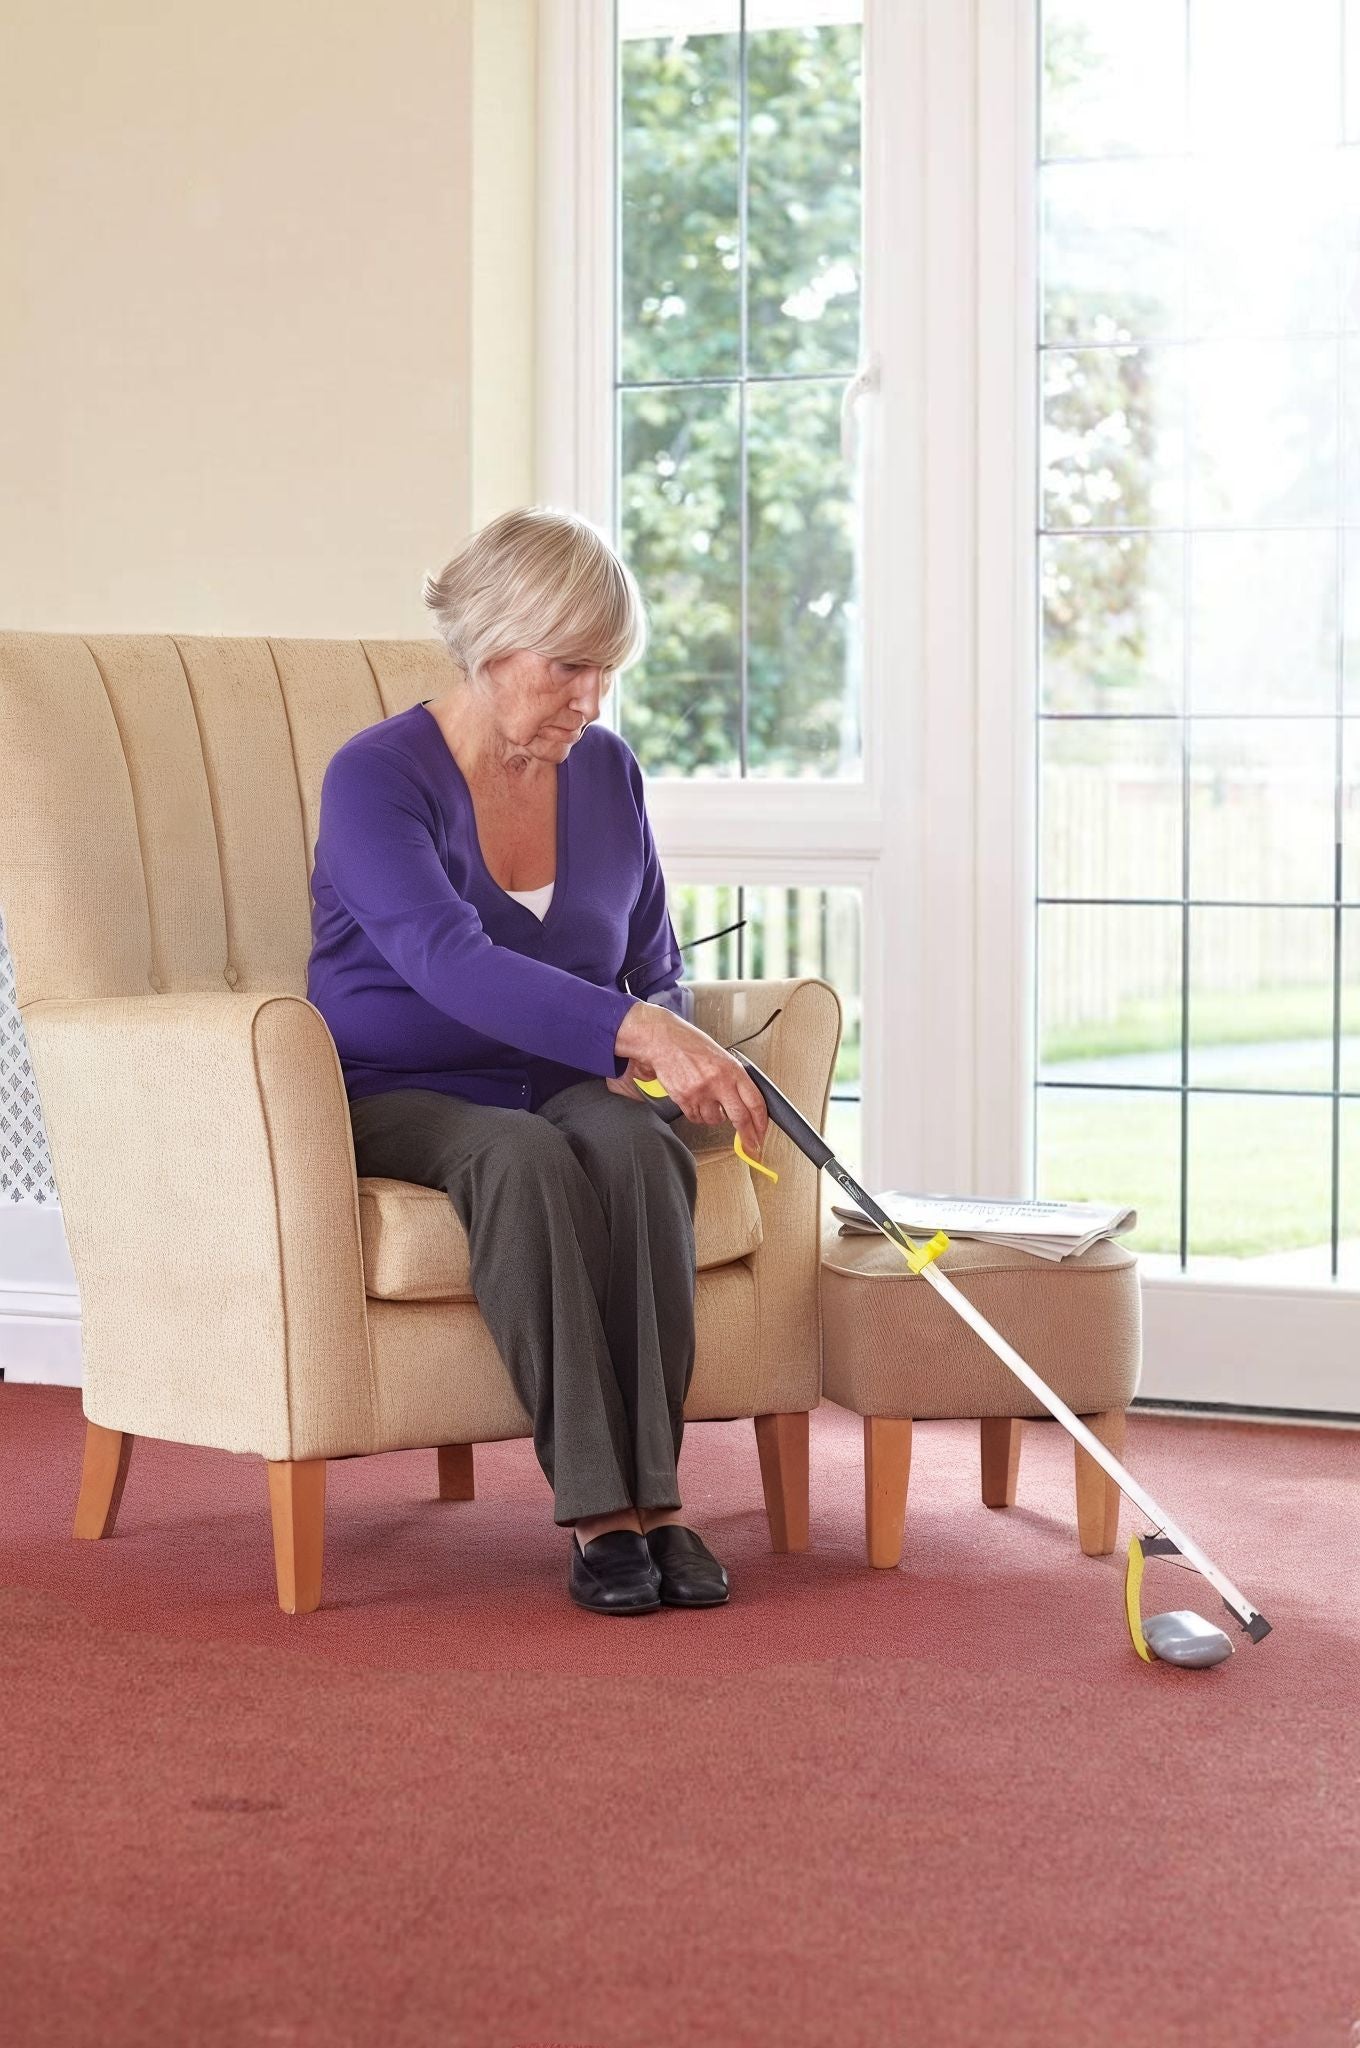
Approach Objects at a Slight Downward Angle
The jaw works best when approaching an object from 10–20° above horizontal. This allows the jaw pads to make full contact with the object's surface rather than just catching an edge.
When picking up flat items from the floor (paper, cards, fabric), tilt slightly more — around 30–40° — so the jaw can wrap beneath the object. For bottles or cylindrical items on a shelf, keep the jaw more level so both pads contact the sides evenly.
Quick check: If items keep slipping out the moment you lift, your angle is likely too shallow. Tilt the jaw end slightly downward and try again.
Respect the Weight Limit — It's More Important Than You Think
Most reacher grabbers are designed to carry 1–2 lbs (0.5–1 kg). This covers the vast majority of daily items: clothing, remote controls, lightweight bottles, food packaging, and dropped personal items.
Exceeding the weight limit doesn't just risk dropping the object — it permanently deforms the jaw mechanism, stretches the trigger cable, and can cause the shaft to flex in ways that accelerate fatigue cracking.
- Safe: socks, TV remote, paperback book, plastic bottle up to 500ml, phone
- Borderline: full 500ml glass bottle, heavy hardcover book — use with extra care
- Avoid: full 1-litre bottles, canned goods, tools, footwear heavier than a light slipper
- Never: attempting to move furniture, pull stuck drawers, or pry objects

Position the Jaw Around the Object, Not Over It
Many users try to grab objects from the top, pressing the jaw pads down onto the surface. This works poorly — the item just gets pushed away. The correct method is to position the open jaw around the object's sides, then squeeze.
For round or cylindrical items (pen, bottle, tube), align the jaw so one pad contacts each side. For flat items on a hard floor, slide the jaw tip slightly under the edge before squeezing. For soft items like clothing, you have more flexibility — but still aim to envelope, not press.
- Cylinder/bottle: jaw open, approach from the side, pads contact both faces
- Flat on floor: tilt jaw tip under the edge, then squeeze
- Clothing: any contact point works — gather a section of fabric and lift
- Small items (coin, pill): some grabbers include a magnetic tip — use it
Never Overreach — Stay Within Your Comfortable Range of Motion
A grabber extends your reach — but it does not eliminate the need for safe body positioning. Overreaching (leaning far forward, reaching sideways past your hip, or bending your torso to extend the tool's range) is the primary cause of falls and strain injuries when using a grabber.
The rule: if the object is at the outer edge of the tool's reach and you're already at your comfortable arm extension, move your body first. Step or roll closer to the object, then use the grabber from a stable, balanced position.
Post-hip or knee surgery: Your therapist will give specific movement precautions. Use the grabber to stay within those precautions — not to bend around them. If an item is truly out of safe reach, ask for help.
Use the Rotating Jaw Feature When Your Grabber Has One
Many quality reacher grabbers — including the models at GrabberTool.com — include a rotating jaw that can be locked at different angles. This is one of the most underused features on the tool.
A rotated jaw lets you pick up items at awkward angles without rotating your wrist — particularly useful when reaching to the side, behind furniture, or into a narrow space. It also helps when picking up items on inclined surfaces like stairs.
- Rotate the jaw to match the orientation of the object, not your arm
- Lock the rotation before gripping — a loose jaw reduces gripping force
- For standard floor and shelf use, the straight-forward position is fine
- Rotate for: side reaches, under-furniture retrieval, inclined surfaces
Clean and Inspect the Tool Monthly
A reacher grabber is a mechanical device with moving parts. Regular light maintenance keeps it working reliably and extends its useful life significantly.
Most grabbers require no oiling or lubrication. What matters is keeping the jaw pads clean (dirty pads lose grip on smooth surfaces) and checking the trigger cable or mechanism for signs of stretch or fraying.
- Jaw pads: wipe with a damp cloth; replace if cracked, peeling, or visibly compressed
- Trigger mechanism: check that the jaw opens and closes fully with smooth resistance
- Shaft: inspect for bends or cracks, particularly near the jaw pivot and handle
- Folding hinge (if applicable): open and close monthly; should lock firm with no wobble
- Magnetic tip (if applicable): clean with a dry cloth; metal dust reduces pick-up strength
Section 09
Which Grabber Length for Which Task?
The two most popular lengths — 32 inches and 43 inches — suit different situations. This table maps common tasks to the right length and technique so you can decide whether one grabber covers your needs or whether it's worth having both.
| Task | Best Length | Difficulty | Key Technique |
|---|---|---|---|
| Picking up item from the floor | 32" or 43" | Easy | Tilt jaw 30–40°, slide tip under edge before squeezing |
| Retrieving item from under a sofa | 43" | Medium | Rotate jaw, approach from the side at floor level |
| Reaching mid-shelf in wardrobe | 32" | Easy | Approach from slightly below, jaw around the item sides |
| Retrieving item from top shelf | 43" | Medium | Keep jaw level, lightweight items only, stand stably |
| Dressing aid — picking up socks/clothing | 32" | Easy | Gather fabric between jaw pads, any contact point works |
| Retrieving item from behind toilet or under sink | 32" | Medium | Rotate jaw to match the space; move body close first |
| Outdoor — picking up litter, garden debris | 43" | Easy | Use magnetic tip for cans; standard jaw for most debris |
| Reaching car boot / back seat | 43" | Caution | Items near weight limit — test with lighter objects first |
GrabberTool Recommendation
One Grabber or Two?
If you do most tasks at seated height or from a bed, a single 32-inch model covers nearly everything. If you frequently reach overhead shelves, retrieve items from under furniture, or use the tool standing up, add a 43-inch model. Many users keep a 32" in the bedroom and a 43" in the living room or kitchen.
- 32" Reacher Grabber — best for seated use, dressing tasks, bathroom, bedroom
- 43" Reacher Grabber — best for standing use, overhead shelves, outdoor tasks
- Precision Grabber 33" — best for small or delicate items, fine motor tasks

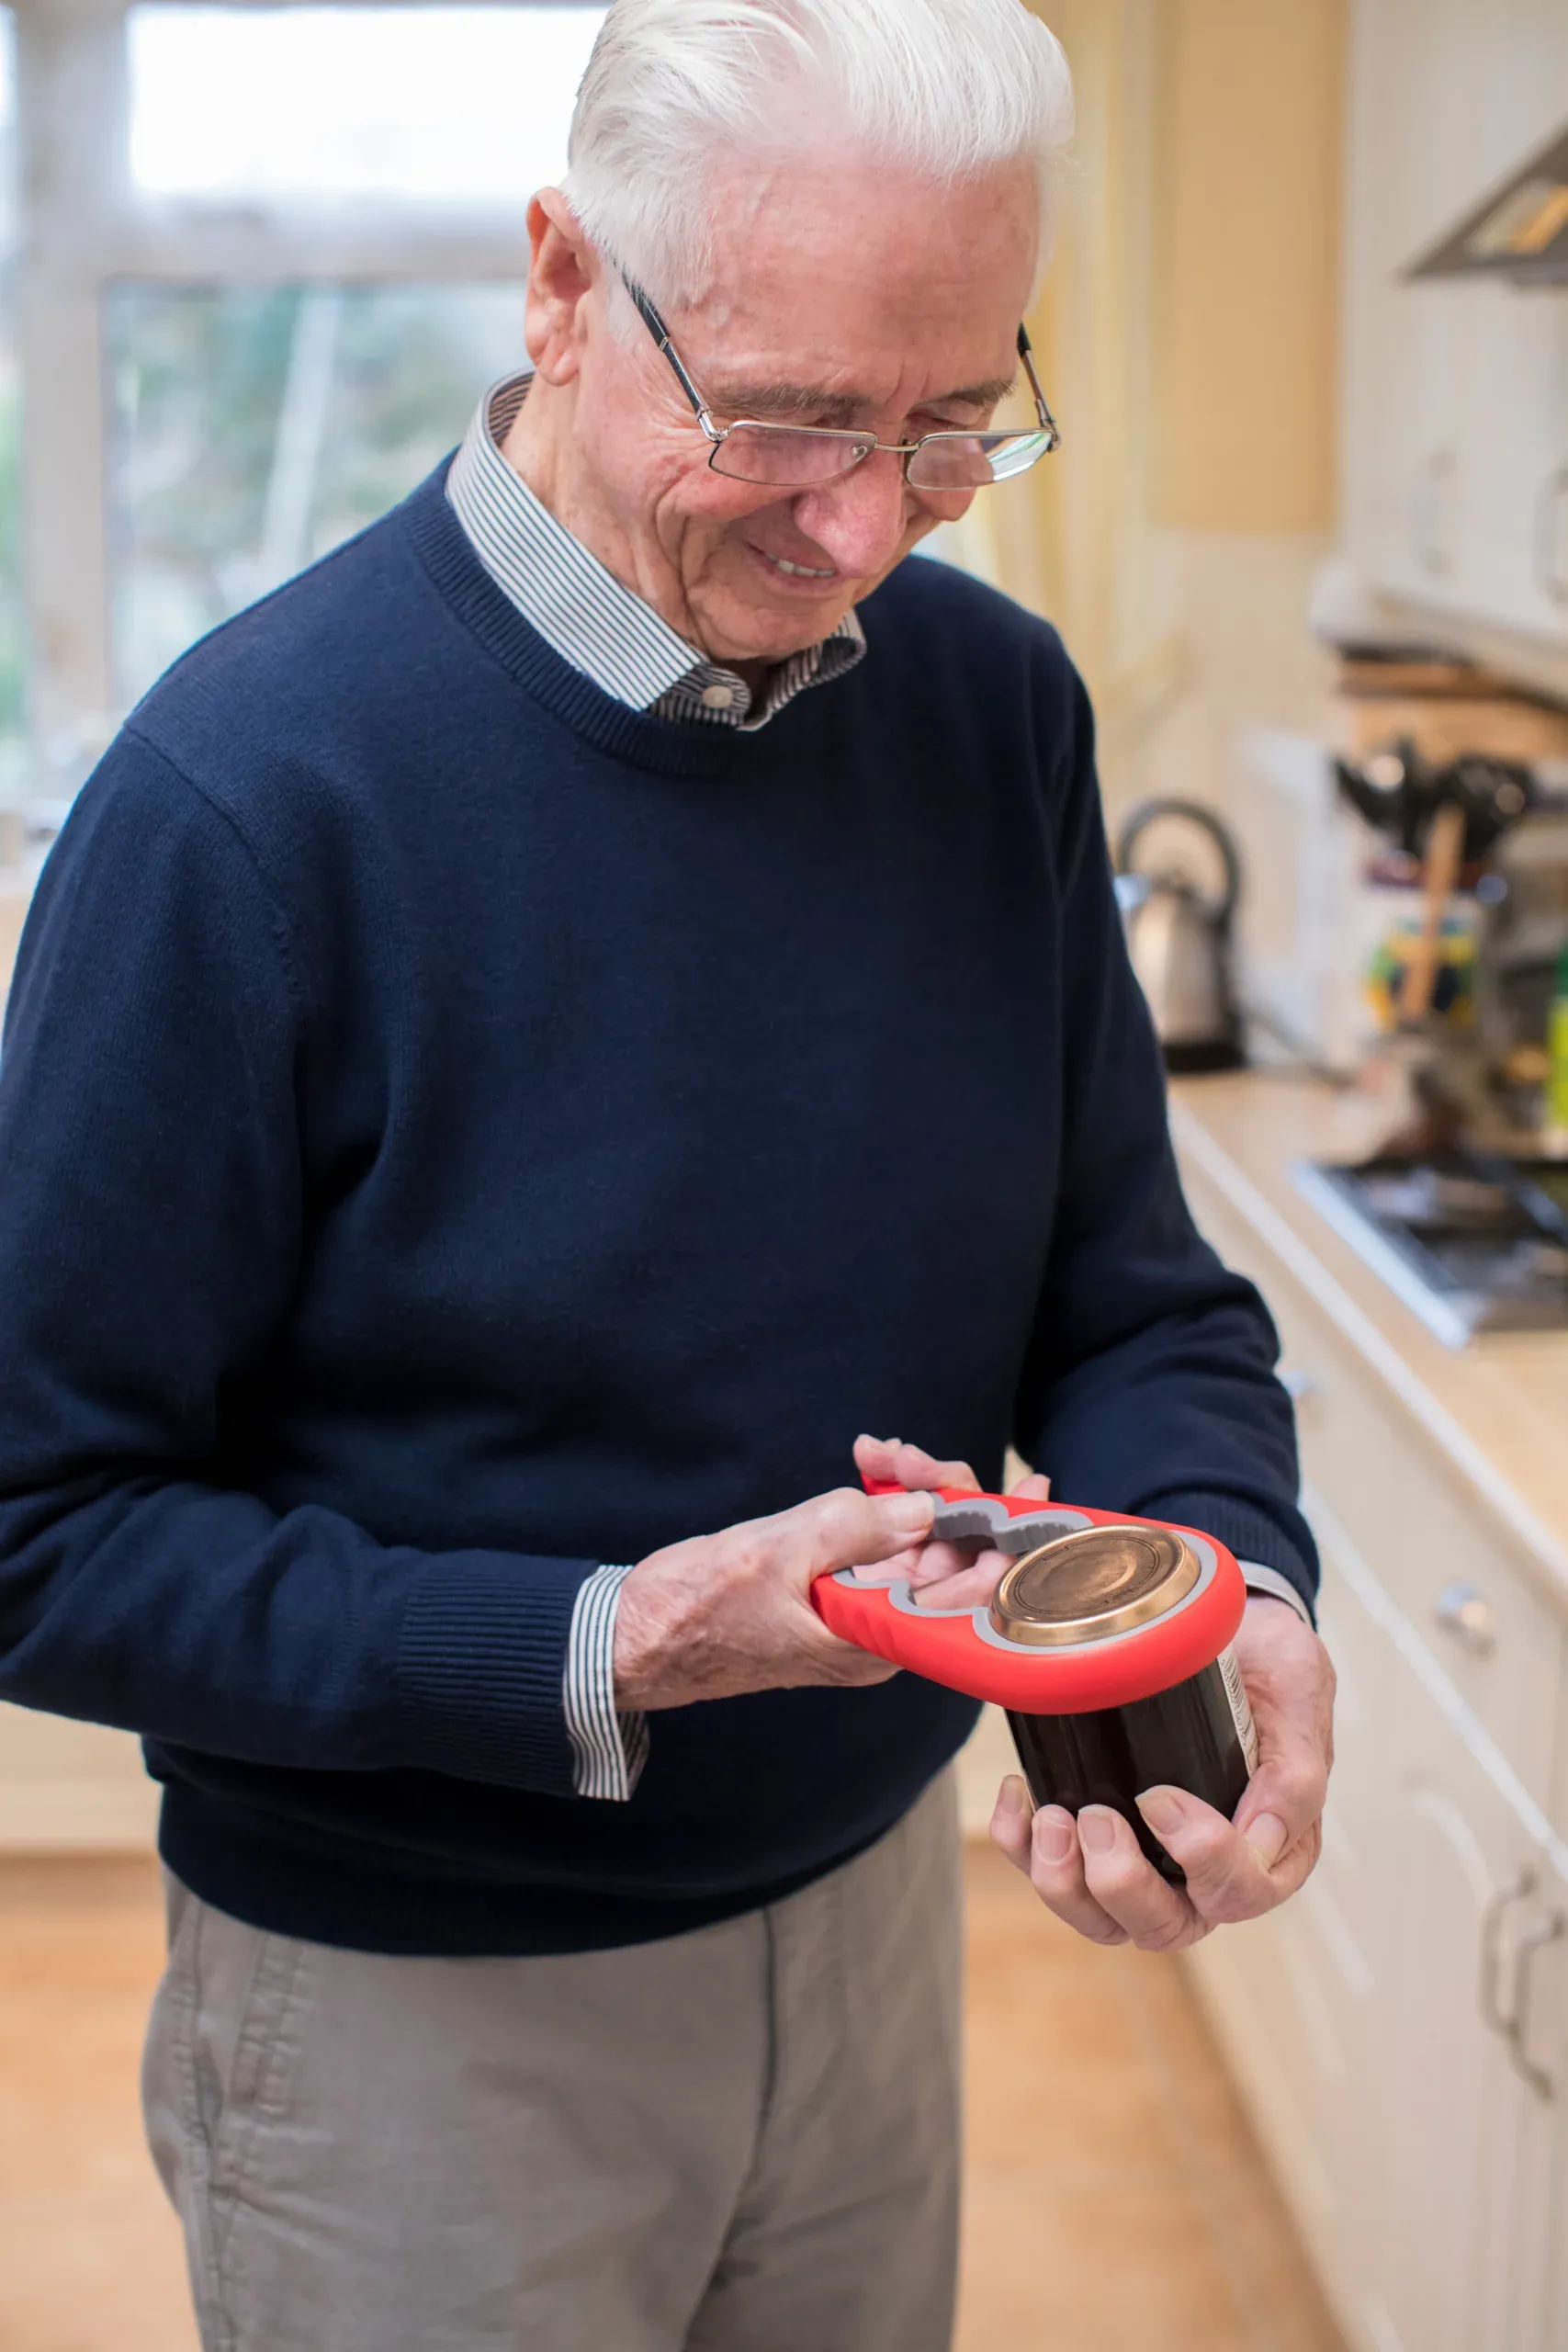
Who Uses a Reacher Grabber?
Grabber Tools Work for More Situations Than You Think
Reacher grabbers are standard equipment after hip and knee surgery — but they're genuinely useful for anyone who wants to reduce bending, twisting, or climbing to reach everyday objects.
Post-surgery recovery
After hip or knee replacement, a grabber is essential for safe dressing, floor retrieval, and maintaining movement precautions.
Chronic back pain
Eliminate repeated bending that aggravates lower back conditions. A grabber makes floor-level tasks pain-free.
Limited mobility
Whether from arthritis, balance conditions, or joint issues — a grabber extends safe reach without risk.
Older adults
Reduce fall risk by eliminating the need to lean, overreach, or use unstable footstools at home.
Outdoor cleanup
Keep the garden, yard, and walkways tidy without bending down repeatedly for debris, litter, or fallen items.
Everyday convenience
Many users without any mobility issues keep a grabber in the kitchen, garage, or car for practical daily convenience.
Section 10
Frequently Asked Questions
Answers to the most common questions about grabber tool technique, safety, and selection.
Hold the grabber with a relaxed grip near the trigger end. Approach the object with the jaw slightly tilted downward — about 10–20° below horizontal. Position the open jaw around the object's sides rather than over it. Squeeze the trigger gently and steadily, let the jaw pads grip, then pull the item toward you before lifting. Avoid jabbing at objects or squeezing the trigger abruptly. For flat items on the floor, tilt the jaw more steeply (30–40°) and slide the tip slightly under the edge before squeezing.
Avoid picking up items that are too heavy — most grabbers are rated for 1–2 lbs (0.5–1 kg). Do not use the grabber to lift sharp or jagged objects that can damage the rubber jaw pads. Avoid open containers of liquid, fragile glassware, and hot items (the grabber is not insulated). Never use a reacher grabber to push heavy furniture, pry open stuck drawers, or act as a lever — this will damage the jaw pivot and can cause the shaft to break unexpectedly.
Use your dominant hand for the best control and least fatigue. If you are recovering from surgery or following specific movement precautions from an occupational therapist or physiotherapist, follow their guidance — they may specify one hand for safety reasons related to your condition. The tool should feel balanced in your hand without requiring you to tense your wrist, forearm, or shoulder to hold it steady.
Wipe the jaw pads and trigger mechanism with a damp cloth regularly — dirty pads lose grip on smooth surfaces. Check the rubber jaw pads every few months and replace them when they show cracking, peeling, or visible compression. For folding models, open and close the hinge monthly to keep the mechanism smooth and check that the lock engages firmly. Inspect the shaft for bends or cracks, particularly near the jaw pivot and handle. Store the grabber flat or hang it vertically to prevent shaft warping over time.
A 32-inch grabber suits most seated tasks — picking up items from the floor, dressing tasks, reaching low shelves, and use from a bed or chair. It's the most versatile single-grabber option for the majority of users. A 43-inch grabber is better for standing use, overhead shelf retrieval, and tasks where extra reach is needed, such as outdoors or in larger rooms. Many people find it useful to have one of each — a 32" in the bedroom and bathroom, a 43" in the kitchen or living area.
Yes — a reacher grabber is one of the standard tools prescribed by occupational therapists after hip replacement surgery. It allows you to pick up dropped items, assist with putting on socks and shoes, and retrieve objects from low surfaces without bending past the hip precaution angle (typically 90°). Always use the tool within your movement precautions, not to work around them — if an item requires you to bend or reach in a way your therapist has advised against, ask for help rather than attempting it with the grabber. For a comprehensive guide, see our article on grabber tools after hip replacement surgery.
The most common causes are: approaching the object from too shallow an angle (increase the tilt to 20–30°), worn or dirty jaw pads (clean or replace them), attempting to pick up items that exceed the weight limit, or releasing the trigger too quickly before the item is fully secure. Also check that you're positioning the jaw around the sides of the object — not pressing down on top of it. If the jaw no longer opens or closes fully with smooth resistance, the trigger cable or spring mechanism may need replacing.
Find the Right Reacher Grabber for You
Three models. Two lengths. One precision option. All built to last.
Shop All Grabbers →Related Guides
More from GrabberTool
After Hip Replacement
The complete guide to choosing and using a grabber after hip surgery. Movement precautions, safe use, and top picks.
32" vs 43" — Which Length?
Side-by-side comparison of the two most popular grabber lengths. Find out which one — or both — is right for your situation.
Best Grabber for Seniors
What to look for when choosing a reacher grabber for an older adult. Grip, weight, jaw design and ease of use compared.
Foldable vs Non-Foldable
Folding grabbers are portable — but do they perform as well? An honest comparison for everyday and travel use.