

Section 01
Why Maintenance Matters More Than You Think
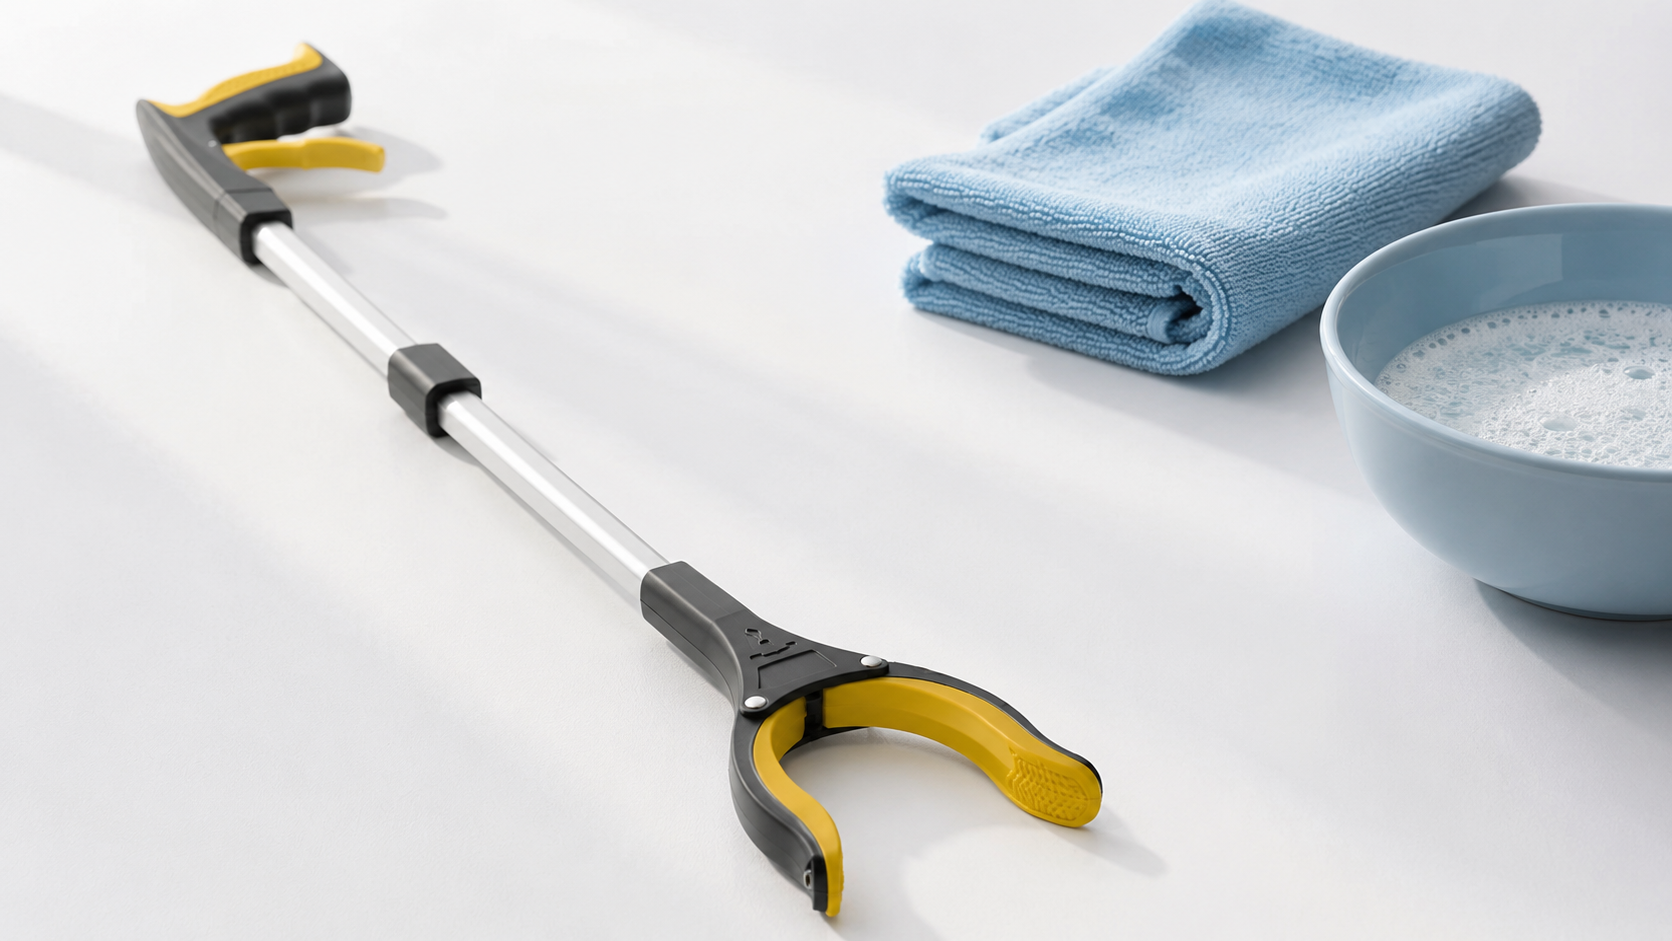
A reacher grabber tool is a mechanical device with rubber jaw pads, a cable-driven trigger, and a pivot system that takes real load every time you squeeze. Most users treat it like a kitchen utensil — wipe it occasionally, use it daily, replace it when it stops working. That approach shortens a tool's effective life from years to months.
Regular maintenance does three things: it keeps grip performance consistent (dirty pads lose up to 40% of their surface friction on smooth objects), it catches mechanical wear before a failure causes a dropped item or a fall, and it keeps the tool hygienic — important for anyone using it in a kitchen, bathroom, or medical environment.
The routine below takes roughly 5 minutes per week for basic care and 15 minutes monthly for a full inspection. It requires no specialist tools or products — just warm water, mild soap, and a dry cloth.
Contaminated rubber jaw pads lose up to 40% of surface friction on smooth objects like bottles and pill packets.
Users who follow a basic monthly maintenance routine report tools lasting 3× longer before jaw or trigger failure.
The weekly cleaning routine takes under 5 minutes and requires nothing beyond warm water and a cloth.
Section 02
Step-by-Step Cleaning Routine
This routine covers a full clean of the entire grabber tool — handle, shaft, jaw, and pads. Run this at least once a week if you use your grabber daily. For kitchen or bathroom use, wipe the jaw pads after every session.

Never submerge the entire tool in water. The internal trigger cable, spring mechanism, and any folding hinges can corrode or lose tension when soaked. Always clean externally with a damp cloth — never in a sink, bucket, or dishwasher.
Wipe the shaft and handle
Dampen a microfibre cloth with warm water and a drop of mild dish soap. Wipe down the full length of the shaft from handle to jaw, paying attention to any textured grip areas where skin oils and debris accumulate.
For plastic or aluminium shafts, a light scrub with the damp cloth is sufficient. For any foam or rubber grip sections on the handle, squeeze and release the foam while wiping to clean into the pores.
Rinse the cloth in clean water, then wipe again to remove all soap residue. Dry immediately with a clean dry cloth — water left on aluminium shafts can leave mineral deposits over time.
Clean the jaw mechanism
Open the jaw fully by squeezing the trigger, then inspect the jaw pivot — the hinge point where the two jaw arms cross. Debris collects here and creates grit that wears the mechanism over time.
Use a dry soft toothbrush or a cotton swab to brush out any accumulated lint, dust, or dried residue from the pivot area. Work with the jaw both open and closed to access all angles.
Follow with a damp cloth wipe on both jaw arms. Do not apply lubricants like WD-40 or oil to the jaw pivot — these attract dust and accelerate wear on plastic components.
Wash the jaw pads
The jaw pads are the highest-priority cleaning target. Rubber pads pick up grease, food residue, detergent film, and fine debris — all of which reduce surface grip.
Wipe each pad firmly with a damp cloth. For stubborn residue (cooking oil, lotions, adhesive residue from labels), use a small amount of isopropyl alcohol on a cloth for a single wipe, followed immediately by a clean water wipe to prevent the alcohol from drying out the rubber.
Inspect the pads visually while cleaning — see Section 03 for replacement indicators.
Clean the trigger area
The trigger and the area around it accumulates skin oils and fine debris from daily handling. Wipe with a damp cloth, paying attention to any grooves or texturing in the trigger surface itself.
If your model has a rotating trigger lock or a trigger lock-on feature, cycle it several times while wiping to access all surfaces. Do not insert anything into the trigger mechanism housing.
Air dry fully before storage
After cleaning, lay the grabber on a dry cloth or hang it vertically with the jaw end down. Allow at least 20–30 minutes of air drying before storing in an enclosed space.
Storing a damp tool traps moisture against metal components and inside foam grips, accelerating corrosion and pad degradation. This single step is responsible for most premature tool failures seen after cleaning.
Section 03
Jaw Pad Care and When to Replace Them
The rubber jaw pads are the single highest-wear component on any reacher grabber. They take direct mechanical load every time you grip an object and are in contact with every surface you pick up. Their condition directly determines how reliably your tool performs.
With daily use, most rubber jaw pads last between 12 and 18 months before grip performance degrades noticeably. Users who pick up heavier items regularly, or who use their grabber on rough outdoor surfaces, may see pad wear faster.

Signs your jaw pads need replacing
Visible cracking
Surface cracks that run across the pad face — even hairline cracks — allow debris to embed and reduce the even contact area. Replace immediately.
Compression flattening
New pads have a slightly convex, cushioned profile. When pads appear flat or concave, the rubber has compressed permanently and grip performance is significantly reduced.
Peeling or separation
Any lifting at the edges or partial detachment means the pad can no longer make full surface contact. Peeling pads also carry a snagging risk.
Consistent slipping
If objects regularly slip even with correct jaw positioning and angle technique, the pads are almost certainly the cause — not technique.
How to replace jaw pads: Most replacement pads slide or peel off the jaw arm and are secured with a small screw or adhesive backing. Check your model's documentation — on GrabberTool models, the pad attaches via a central screw that can be removed with a standard cross-head screwdriver.
Browse replacement-ready grabber tools →Section 04
Trigger and Cable Inspection
The trigger mechanism converts your grip force into jaw movement. In most reacher grabber designs, a thin internal cable or rod runs the length of the shaft, connecting the trigger to the jaw pivot. This component does not need lubrication but does need periodic inspection — a fraying cable or a stiff trigger is both a performance issue and a safety concern.
Run a trigger and cable inspection once a month as part of your maintenance routine. It takes approximately two minutes.
| What to check | Healthy sign | Warning sign | Action |
|---|---|---|---|
| Trigger travel | Smooth, consistent resistance throughout full squeeze | Gritty, catching, or sudden resistance increase | Clean jaw pivot area; check for debris |
| Jaw opening | Jaw opens fully and returns closed smoothly on release | Jaw opens only partially, or stays partially open | Inspect return spring; may need replacement |
| Cable tension | Trigger response is immediate — no lag between squeeze and jaw movement | Noticeable delay, or trigger feels "loose" before jaw responds | Cable may be stretched or fraying — replace tool |
| Handle wobble | Handle is solid, no lateral movement | Handle shifts or rotates relative to shaft | Tighten any handle screws; check for cracks |
| Shaft integrity | Straight, no flex when gentle lateral pressure applied | Visible bend, white stress marks on plastic | Discontinue use — replace immediately |

Section 05
Caring for the Magnetic Tip
Many GrabberTool models include a magnetic tip at the end of the jaw — an extremely useful feature for retrieving keys, coins, screws, pins, and any small ferrous object that standard rubber pads struggle to grip. The magnetic tip requires different maintenance from the rest of the tool.
Magnets attract fine metal particles continuously — including invisible iron filings from carpet and floor surfaces. These accumulate on the magnet face as a grey-brown powder that looks like grime but is actually a dense layer of metal dust. This layer significantly reduces the magnet's effective pick-up strength.
Magnetic Tip — Care Rules
Clean after every use that involves metal retrieval.
Metal dust accumulation is fast and invisible until performance drops noticeably. A 10-second dry wipe after use is all that's required.
- Use a dry cloth only — water on a magnet surface accelerates surface oxidation
- For embedded debris, use a dry stiff toothbrush — brush in one direction to draw out filings
- Never use chemical cleaners or abrasives on the magnet face — they damage the surface coating
- Store with the magnetic tip facing away from other metal tools to avoid attracting debris during storage
- If pick-up strength feels reduced after cleaning, the magnet itself may have weakened — this is rare but can occur if the tip has been struck hard or exposed to heat
For a full comparison of grabber models with and without magnetic tips, see our guide: Grabber Tool with Magnetic Tip — Why It Matters and Top Picks.
Section 06
Storage, Folding Hinges & Longevity Tips
How you store your grabber tool between uses has a direct effect on how long it lasts and how reliably it performs. Poor storage is the most common cause of unnecessary mechanical wear.

Store vertically when possible
Hanging a grabber vertically — jaw end down — is the ideal storage position. It prevents sustained pressure on the jaw pads (which causes compression flattening over time), keeps the shaft straight, and allows any residual moisture after cleaning to drain away from the mechanism.
Many users hang their grabber on a hook near the bed, wheelchair, or bathroom — where it is also most accessible.
Avoid storing under weight or in compression
Never store a grabber tool under other objects, compressed into a narrow drawer, or with the jaw pads pressed against a surface for extended periods. Sustained lateral pressure bends plastic shafts and compresses jaw pads permanently.
Folding hinge care (foldable models)
If you have a foldable grabber tool, the hinge joint requires specific attention. Open and fully close the hinge at least once a week — even if you are not using the folding function — to prevent the locking mechanism from stiffening.
Inspect the hinge visually each month. The hinge should lock solid in the open position with absolutely no wobble. Any lateral play at the hinge point means the lock mechanism is wearing and the tool should be replaced — a hinge failure during use is a fall risk.
- Open and close weekly to maintain hinge mechanism freedom
- Lock check monthly — zero wobble required when locked open
- Clean hinge joint with dry cloth; no lubricant required
- Replace on any wobble — a loose hinge is a safety issue
Temperature and environment
Avoid leaving your grabber tool in direct sunlight for extended periods — UV exposure degrades rubber jaw pads and makes plastic shafts brittle over time. Cars in summer are a particular risk.
Cold temperatures do not harm grabbers significantly, but rubber pads temporarily lose flexibility in very cold conditions. If your tool has been stored in a cold environment, allow it to warm to room temperature before use for maximum grip performance.
When to replace rather than maintain: No amount of cleaning will restore a tool with a bent shaft, fraying cable, cracked jaw arm, or failed hinge lock. These are structural issues. A grabber tool used as a mobility aid needs to be mechanically reliable — when in doubt, replace it.
Shop all grabber tools →For guidance on foldable vs non-foldable models, see our comparison: Foldable vs Non-Foldable Grabber Tool — Which Is Better for You?
Section 07
Frequently Asked Questions
Wipe the jaw pads after any contact with food, liquids, or dirt. For general daily use, a full clean once a week keeps grip performance consistent. A thorough mechanical inspection — trigger, cable, shaft — should be done once a month.
No. Dishwasher heat warps plastic components, degrades rubber jaw pads, and can corrode internal trigger cables. Always hand wash with warm water and mild soap, then air dry fully before use. Never submerge the tool in water.
Wipe the magnetic tip with a dry cloth after each use involving metal items. Metal filings accumulate quickly and reduce pick-up strength significantly. For embedded debris, use a dry toothbrush. Avoid water on the magnetic tip where possible — moisture accelerates oxidation on the magnet surface coating.
Replace jaw pads when you see visible cracking, peeling, or compression flattening, or when items consistently slip despite correct technique. Most pads last 12–18 months with daily use. Pad degradation is the most common reason a grabber tool loses performance before any other component fails.
Yes, for the handle and shaft — these are safe to wipe with standard disinfectant wipes. For the jaw pads, limit contact: alcohol-based disinfectants dry out rubber over time and accelerate cracking with repeated exposure. A brief wipe followed immediately by a clean water wipe is fine. Soaking or repeated application is not.
First, check that no debris is caught in the jaw pivot or trigger mechanism — clean with a dry toothbrush and cycle the trigger several times. If stiffness persists after cleaning, the internal cable may be fraying or kinked, or the return spring may have weakened. At that point, replacement is the safest option rather than attempting internal repair.
No. This is a common question and the answer is no — standard reacher grabber tools are designed to operate dry. Applying oil, WD-40, or any lubricant to the jaw pivot or trigger mechanism attracts dust and debris, creating a paste that accelerates wear rather than reducing it. Keeping the mechanism clean and dry is the correct approach.
A well-maintained grabber tool used daily should last 2–4 years or more before any component reaches end of life. The jaw pads will typically need replacement once or twice during that period. Tools that are never cleaned, stored poorly, or used beyond their weight rating may fail within 6–12 months. Following the maintenance routine in this guide consistently is the single biggest factor in tool lifespan.
Also Worth Reading
Related Guides
Now that your grabber tool is clean and well-maintained, make sure you're also using it correctly and have the right model for your needs.
How to Use a Grabber Tool Correctly
7 techniques for consistent, safe gripping — approach angle, weight limits, jaw positioning, and more.
Picking Up Small Items
Coins, pills, and keys require specific jaw positioning. Learn the techniques that work reliably.
32" vs 43" — Which Length?
The most common buying decision, explained clearly with real use cases for each length.
After Hip Replacement Surgery
The specific features and techniques that matter most during post-surgery recovery.
Ready for a tool that's built to last?
Explore the full GrabberTool range — 32", 43", and precision models with magnetic tips.
Shop All Grabber Tools →


